A quick and simple template for creating 30 days worth of social media posts in 5 minutes or less!
Let’s say you’ve just finished up a blog post and it’s a masterpiece. You’ve spent hours crafting it, ensuring that it’s a work of pure brilliance. You’ve carefully crafted your content in a way that people are just going to eat it up and ask for seconds.
Finally, you get to hit that beautiful “Publish” button. Feels good.
But now what? Oh, that’s right–now you have to get that wonderful piece of blog post goodness out in front of people. How do you do that?
Well, social media, of course.
But then you realize, “Oh, shoot. Now I have to spend the next 20+ minutes promoting this post across every social network I’m on.” And that kinda feels like:

Let’s face it, promoting your blog posts across all your social networks isn’t the most fun part of blogging. In fact, it can become pretty tedious and boring work if you’ve been doing it for a while.
But what if I told you it didn’t have to be that way?
What if I told you that you could implement a simple social media promotion template that would cut down your time into a mere fraction of what it would normally take you?
Well I’m here to show you exactly how I have mastered the process of promoting my blog posts on social media with maximum effectiveness and minimum effort.
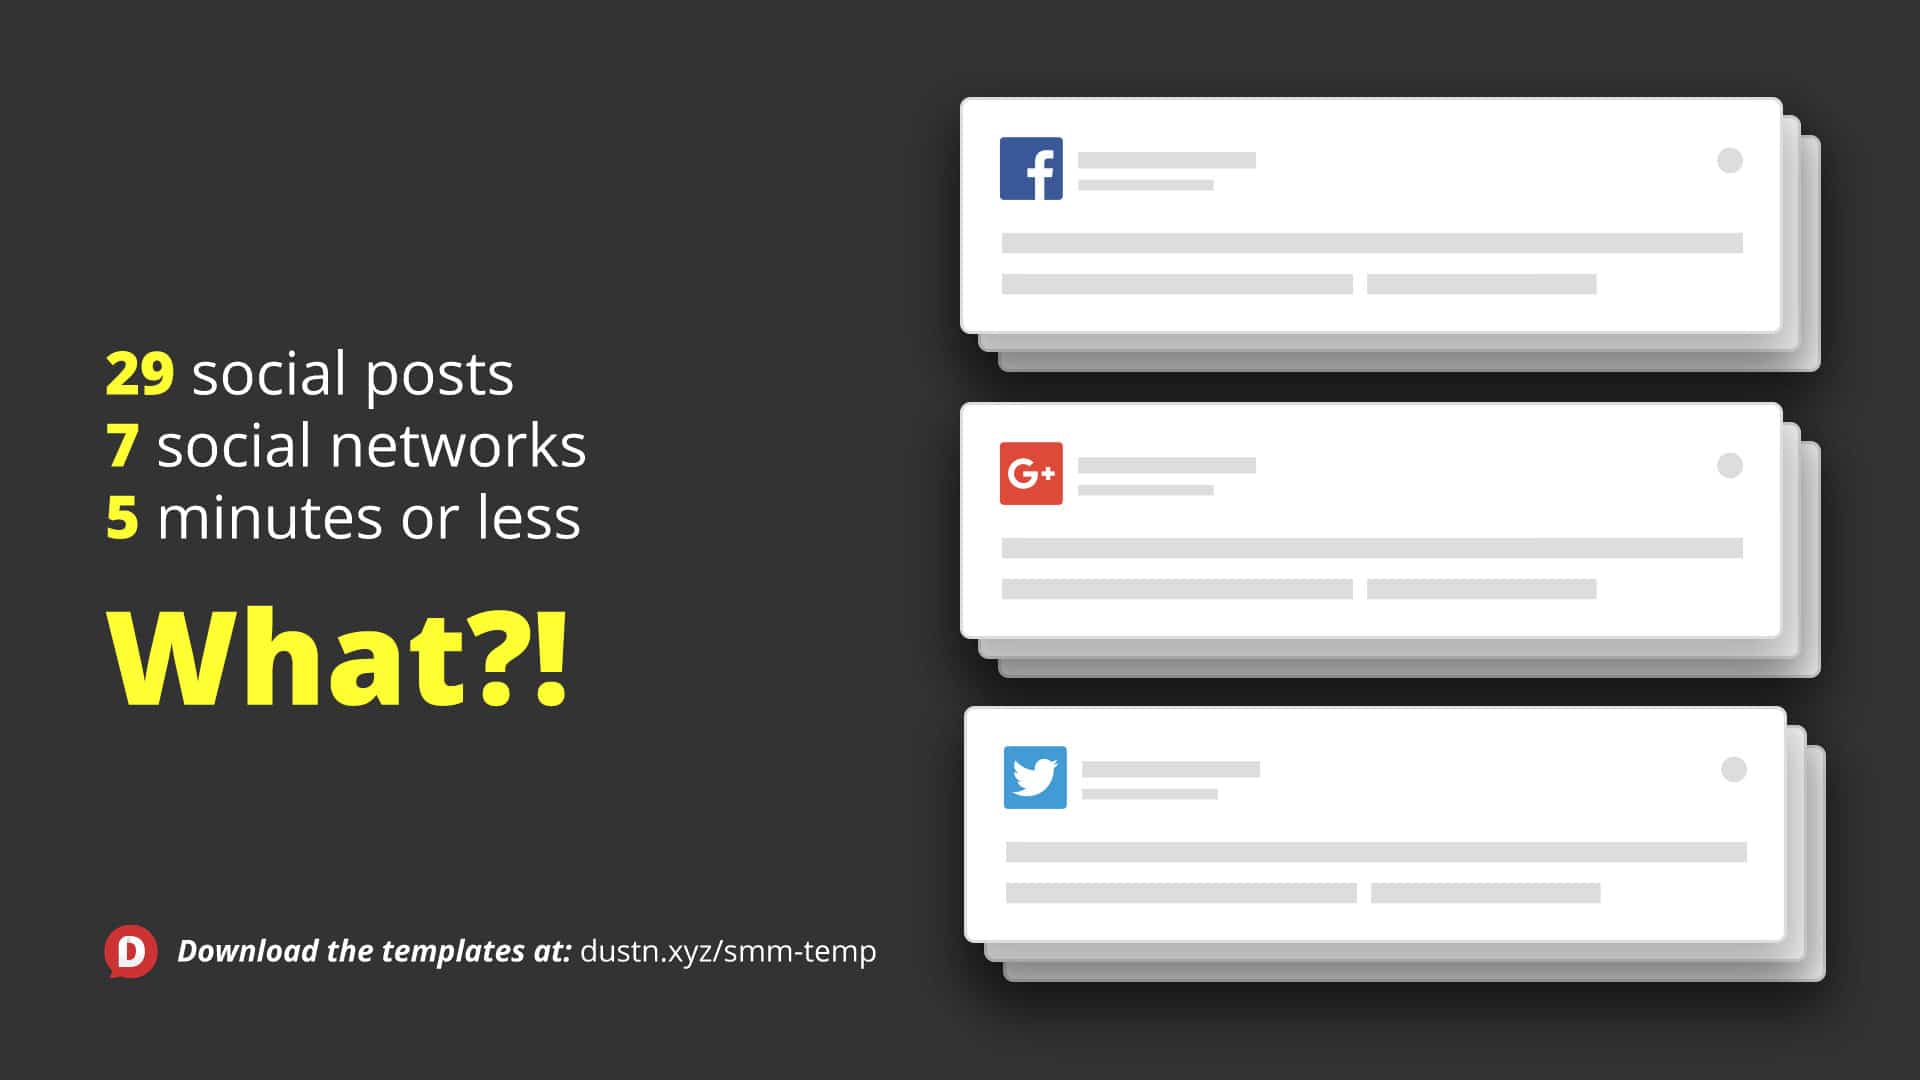
When I publish a blog post, I spend roughly 5 minutes scheduling out 30 days worth of social media shares across 7 different social networks.
And just to be clear, I’m not just sharing out the headline of my article and a link to it. I’m scheduling out 33 different messages over the course of 30 days to 5 social profiles.
How do I do that?
Simple. I’ve created a template, and I use the heck out of it.
And then I made it even easier by creating Social Remix. It’s a free app that any blogger, podcaster, YouTuber, or long-form content creator can use to turn one piece of content into 30+ social media posts.
Try Social Remix for free!
But for those of you who like a more manual approach, keep reading.
Social Media Blog Promotion Template
For every blog post I write, I create a unique set of messages by filling in each of the following fields, which I call “Text Helpers”:
[Title]
[Lead]
[Summary]
[Quote]
[Question]
[Tweet]
[CTA]
[#hashtag1]
[#hashtag2]
As soon as a blog post is finished, I fill out each one of these text helpers for the post. Here’s a closer look at what I put in each of them:
Title: This is pretty obvious–just the title of the article. Always keep this 70 characters or less.
Lead: The lead is what I call the brief introduction that I put at the very beginning of every blog post. It serves as a sort of “hook” or a “why you should read this” intro to the post. Its purpose is to make it very clear, in 1-2 sentences why the reader needs to read the article. Keep this to 110 characters or less and make sure you’ve mentioned your primary keyword once.
Summary: This is a longer 2-3 sentence summation of the post. What are they going to get from it without giving it away entirely? You will want to make sure you have all your keywords hit in this element. No character limit, but it shouldn’t be too long.
Quote: Use the best quote from the article or turn one of your best points in the article into a quote. Keep it to 110 characters or less. If your quote is from an influencer, be sure to use their Twitter handle in the quote.
Question: Your article should be the answer to some question or problem that your audience is facing. Formulate that question and use it here, in 110 characters or less.
Tweet: A message that will be exclusively for Twitter–optimize it for the Twitter audience to get the most clicks (add hashtags inline with the text). Again, 110 characters or less.
CTA: This is simply the link to your article.
Hashtags: You should have at least one good hashtag that goes along with your article. You only need 2 maximum.
For example, here’s what I filled out for one of my recent articles:
[Title] = The Biggest Social Media Mistake (And How to Avoid It)
[Lead] = As the recent fate of Vine shows us, you should never put your audience solely in someone else’s hands.
[Summary] = Are you working to build an audience online? If so, I want to warn you about a very serious social media mistake that I see a lot of social media stars making.
[Quote] = “Anyone who says you don’t need a website to develop a successful online presence is a short-sighted idiot.”
[Question] = Are you in danger of making the BIGGEST Social Media mistake?
[Tweet] = Don’t make the BIGGEST #SocialMedia mistake like so many others.
[CTA] = https://dustinstout.com/the-biggest-social-media-mistake-and-how-to-avoid-it/
[#hashtag1] = #SocialMedia
[#hashtag2] = #marketing
Once I’ve filled these out, I can start copying and then pasting them into my scheduled social messages. Next, I’ll show you how I break it down for each network.
Facebook Combinations
For Facebook, I use 3 posts as well, but with a different combination of helpers.
Post 1: Link post format.
[Lead] [CTA]
Post 2: Image post format.
[Question] [CTA]
Post 3: Image post format.
[Quote] [CTA]

[Summary] [CTA]
Twitter Combinations
If you’re familiar with how Twitter works, you’ll know it has a much higher posting volume tolerance, so I schedule out at least 5 different tweets for the 4-week span. All of these tweets, except for the first one, has an image uploaded with it.
Post 1:
[Tweet] [CTA]
Post 2:
[Question] [CTA]
Post 3:
[Lead] [CTA]
Post 4:
[Quote] [CTA]
Post 5:
[Title] [CTA]
I’ll then repeat a few of those over the course of a month since it’s likely that all my followers aren’t seeing all my tweets.
Pinterest Combinations
For Pinterest, I always have at least 2 or 3 different Pinterest optimized images to use, so I’ll just create a Pin for each one using the [Summary]. I then try to post them to 4 different, relevant boards (making a total of 8-12 different pins).
LinkedIn Combinations
For LinkedIn, I basically use the same posts as I use for Twitter, but without the image upload. All LinkedIn posts are just link post format for me.
Instagram Post
I only promote once on Instagram and I use the custom tweet. I may add a few extra hashtags, but that’s about it.
Tumblr Combinations
For Tumblr, I pretty much just treat it like Facebook.
There’s great SEO value in Tumblr, however, I can’t say whether or not I’ve reaped the benefits of it just yet. Since it’s no extra work for me, I add it in anyways.
What about Visuals?
If you’ve been following my blog for a while, you probably know how crucially important visuals are in any digital marketing strategy.
So it’s worth noting that part of my blog writing process includes creating 5 different promotional images. I use the following sizes:
- 1920×1080 – for my blog header
- 1080×1920 – for Pinterest and Stories (2 different versions)
- 1920×1920 – for Facebook, LinkedIn, and Instagram
- 1200×628 – for Open Graph (for any social network that displays an article preview when sharing a link)
And I know what you’re thinking… that’s going to take a LOT of work! Even if you’re using something like Canva or SoVisual.co to create images quickly, having to create 5 different images is time consuming!
All that in less than 5min?!

Yes. The reason this only takes me 5min is because I use Social Remix. It’s an app I created that utilized the exact templates I outlined above!
All you need to do is:
- Sign-up for a free account
- Start a New Campaign by pasting a link to your blog post
- Social Remix will pull in your Title, Description, Author Name, and Feature Image, you just fill in the rest
- Pick a visual theme for the images
- Click the “Generate” button and let the magic happen
Filling out the campaign fields should take you 60 seconds or less.
Once you’ve hit the “Generate” button and the app will instantly remix all of the information into sharable posts for the following social networks:
- Facebook (5 posts)
- LinkedIn (5 posts)
- Twitter (15 posts)
- Instagram (3 posts)
- Pinterest (5 posts)
It will also create 16 images based on the visual theme you chose. They are sized to fit every possible platform.
All you have to do is copy and paste the messages into your scheduling tool of choice and you’re good to go.

Give Social Remix a Try!
As a bonus, you can also download a .csv file of all the posts. For those of you who use a scheduling app that allows for bulk upload, this is super handy. Agorapulse—my social media scheduling tool of choice—has this feature, so I always use the Download feature.
More Time Saved = More Time Engaged
Being able to instantly generate 30 days worth of promotion for my blog post has been a total game-changer for my productivity. It’s almost impossible to count how many hours I’ve saved by using this one feature alone.
The less time I have to spend writing and scheduling social media posts, the more time I can spend engaging with my community.
This is why I highly recommend every serious blogger give Agorapulse a try.
Otherwise, just go out and crush your content promotion with the help of Social Remix! I’d love to hear how you end up using it.
P.S. If you’re looking for a more exhaustive checklist on blog post promotion, my friend Mike Allton has written an excellent piece (complete with a checklist) which he calls Blog Promotology and it’s the most comprehensive guide I’ve seen.
Leave a Reply
You must be logged in to post a comment.