In case you haven’t noticed, live streaming social media is blowing up the scene. Why is it so popular? How can you use it to build an audience of raving fans?
I’m so glad you asked.
It was by the mid-2000s that we finally had the proper tools and know-how to make online video streaming a thing. In 2005, YouTube was launched, and it changed how the world of videos worked.
Data compression technology has made leaps and bounds, contributing to the rapid growth and success of streaming video.
And as video streaming technology became better, people began consuming it at mind-boggling scale. What kind of scale, you ask?
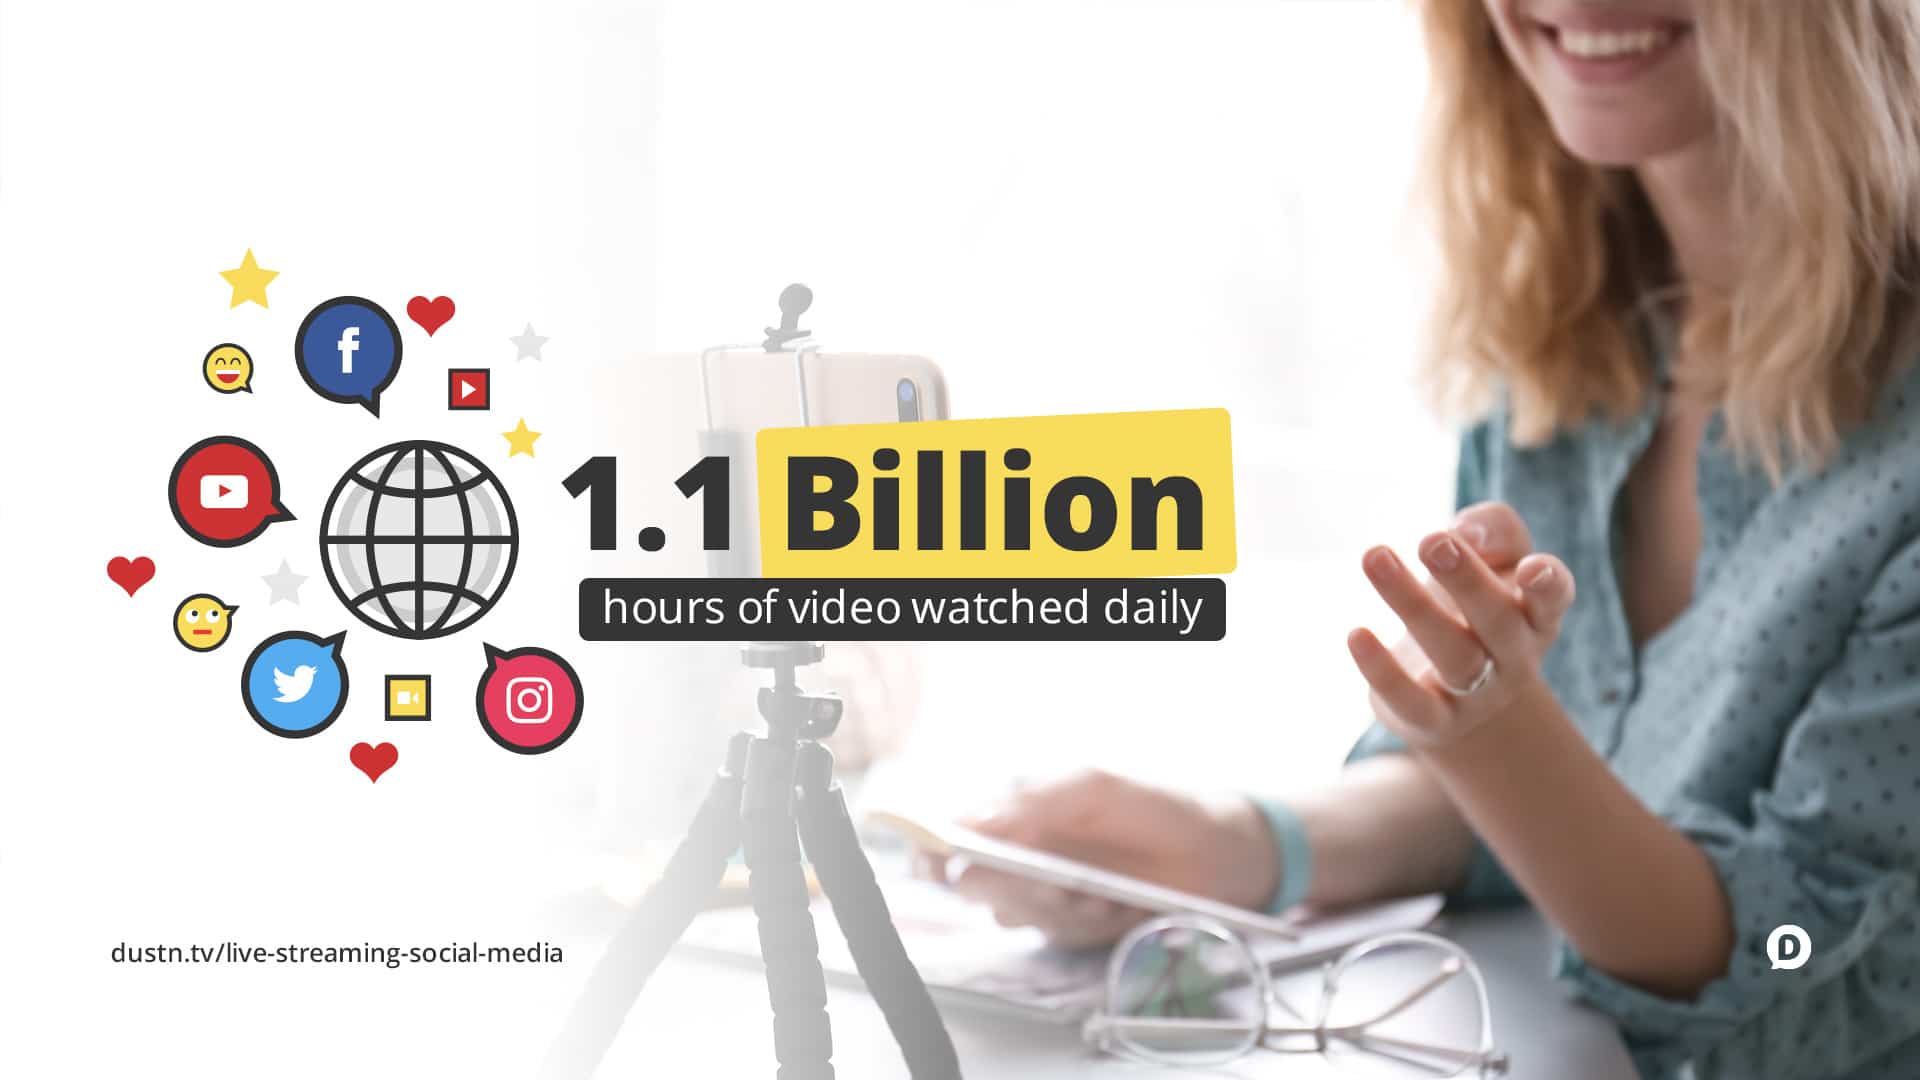
Between the big four video platforms we’re going to talk about in this article (Facebook, YouTube, Instagram, and Periscope) there is over 1.1 Billion hours of video watched every single day.
And that brings us to live streaming.
Thanks largely in part by Meerkat (rest in peace) and Periscope, the popularity of live video streaming only started to peak in 2015.
For the last few years, many social media platforms have been vying for the attention of consumers by introducing their own brand of live streaming services. This has started an age where people can watch their favorite content creators, entertainers, or online celebrities in real time.
And of course, online marketers took notice of that and have begun using streaming media to promote brands in new and exciting ways.
Do you have an interesting story that you intend to share with your audience or the rest of your world? Stream it!
But hold up a second… what is live streaming anyways?
I define live streaming as:
Real-time video that is broadcast through a social network or online platform where it can be viewed by the public.
If great content marketing is about storytelling, live video is the “Broadway show” of content. Raw, unedited, in-person, real time content.
Anyone can begin using live streaming social media to tell the story of their brand.
Let’s say you’re a local cafe–one idea is to share with your audience how you craft the perfect cup of coffee to start your morning. (I would watch that all day!)
Or maybe you’re a local bakery–you could take people behind the scenes as you cook up a batch of your signature chocolate cookies!
Are you a blogger? Great! Instead of just publishing your next blog post, take five minutes to fire up a live video about what you’re about to publish, why you’re publishing it, and give people a tease of what it will be about.
The possibilities of live streaming are endless.
That’s great, Dustin, but where exactly should I live stream? There are a ton of places to do live video.
You’re right, there are a lot of social media platforms that allow you to live stream videos. Every platform has its advantages and disadvantages.
Today, we are going to explore four of the most popular live video streaming platforms: Facebook Live, Instagram Live, YouTube Live, and Periscope.
Facebook Live Streaming
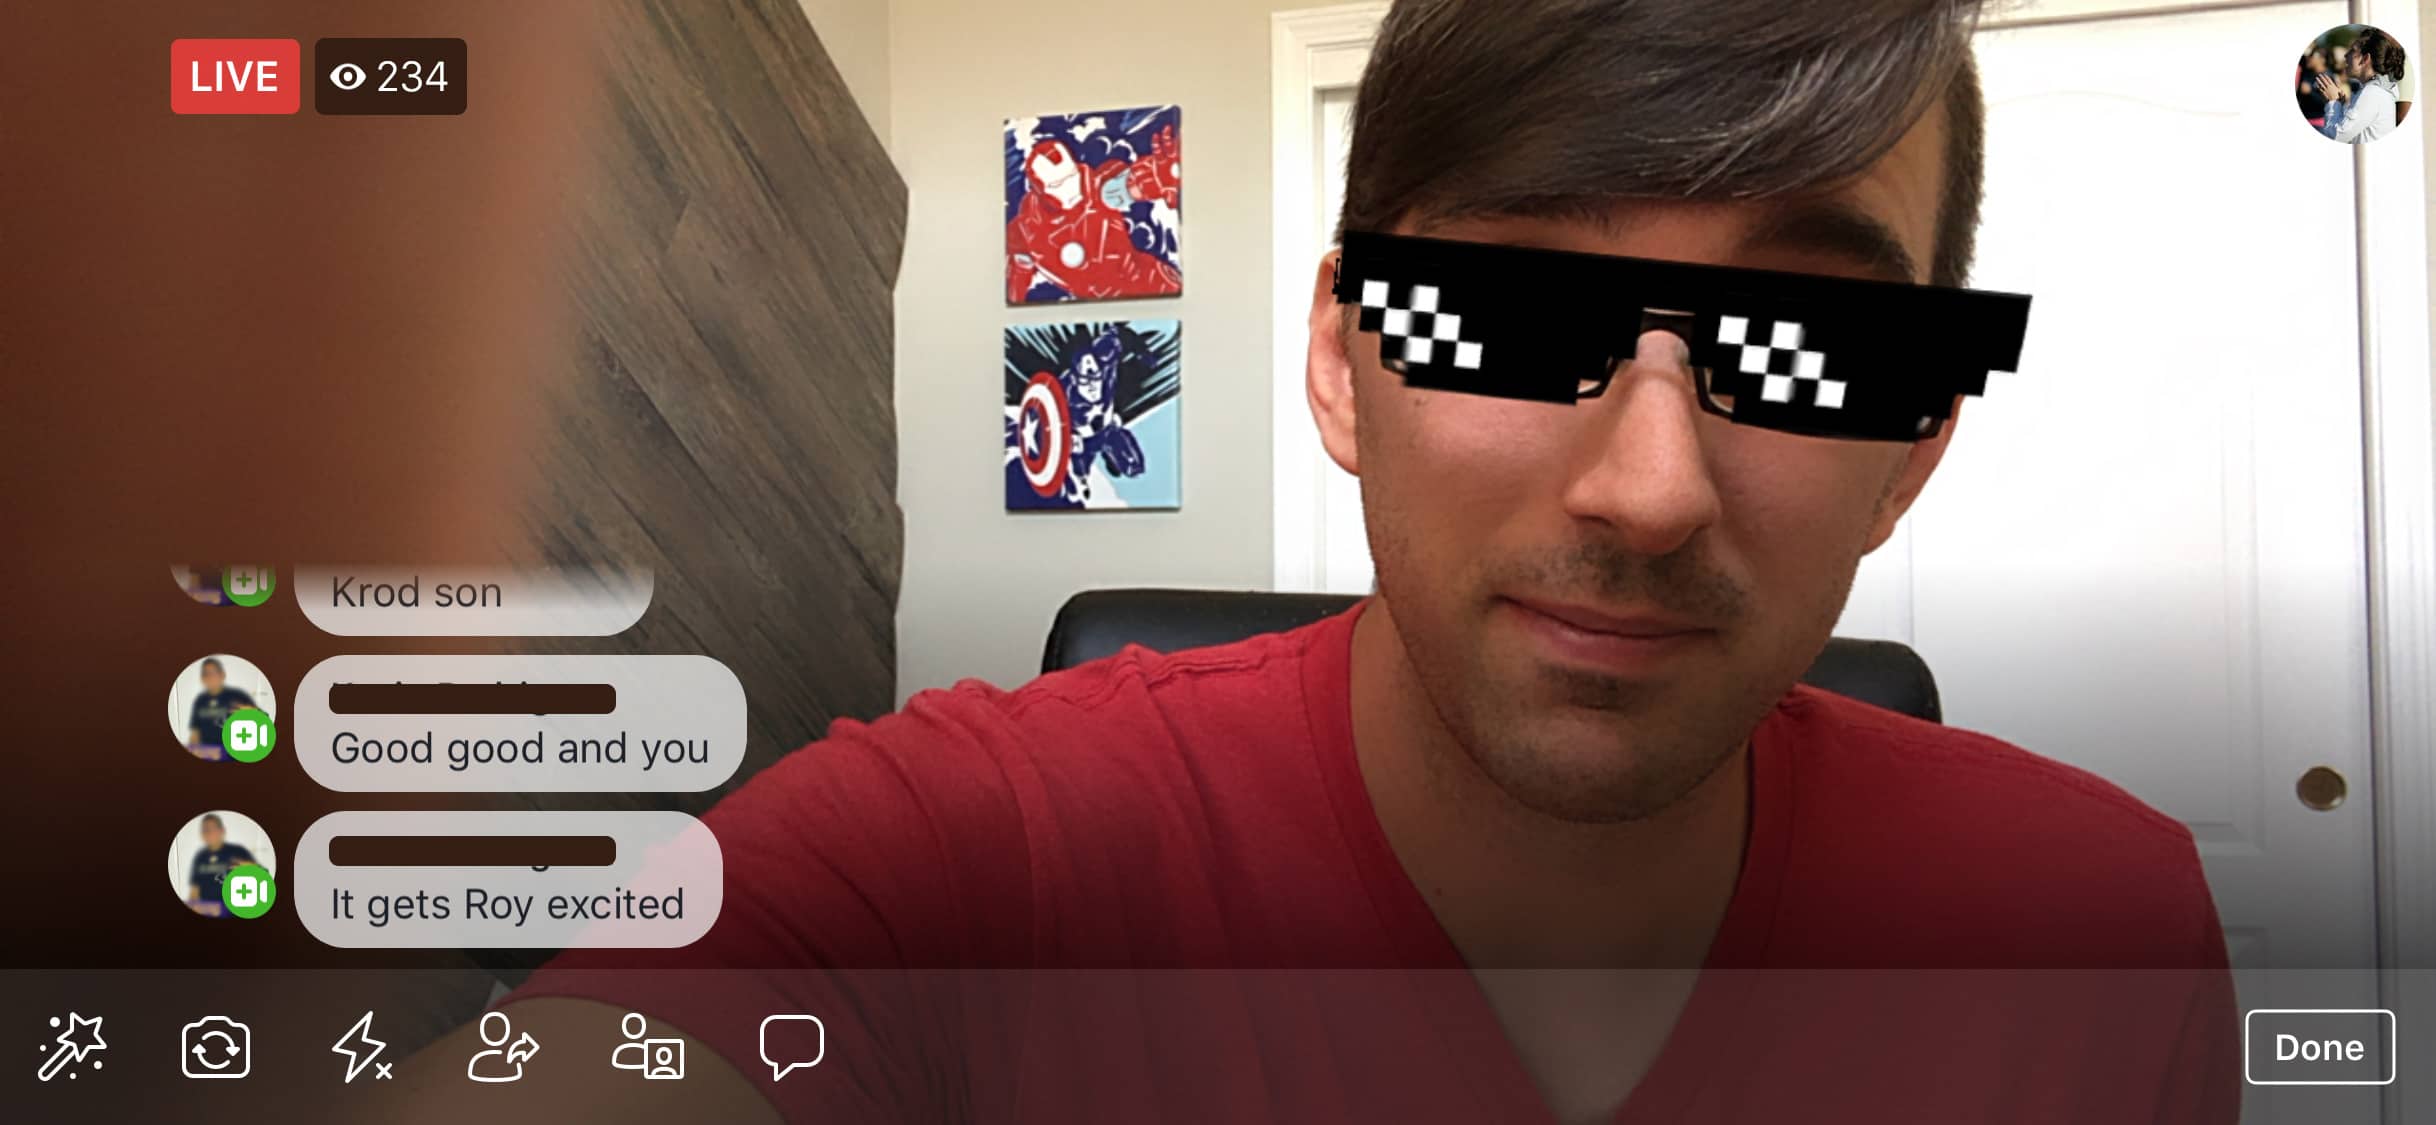
Facebook is arguably the most popular social media network known to man. And they have released a live streaming service that has been really popular for a couple of years now.
Facebook Live was initially launched as a mobile-only broadcasting feature, but it was expanded to also include desktop use.
If you are a marketer, looking to make a big splash online, then this is an essential tool for you to take advantage of.
How to live stream on Facebook
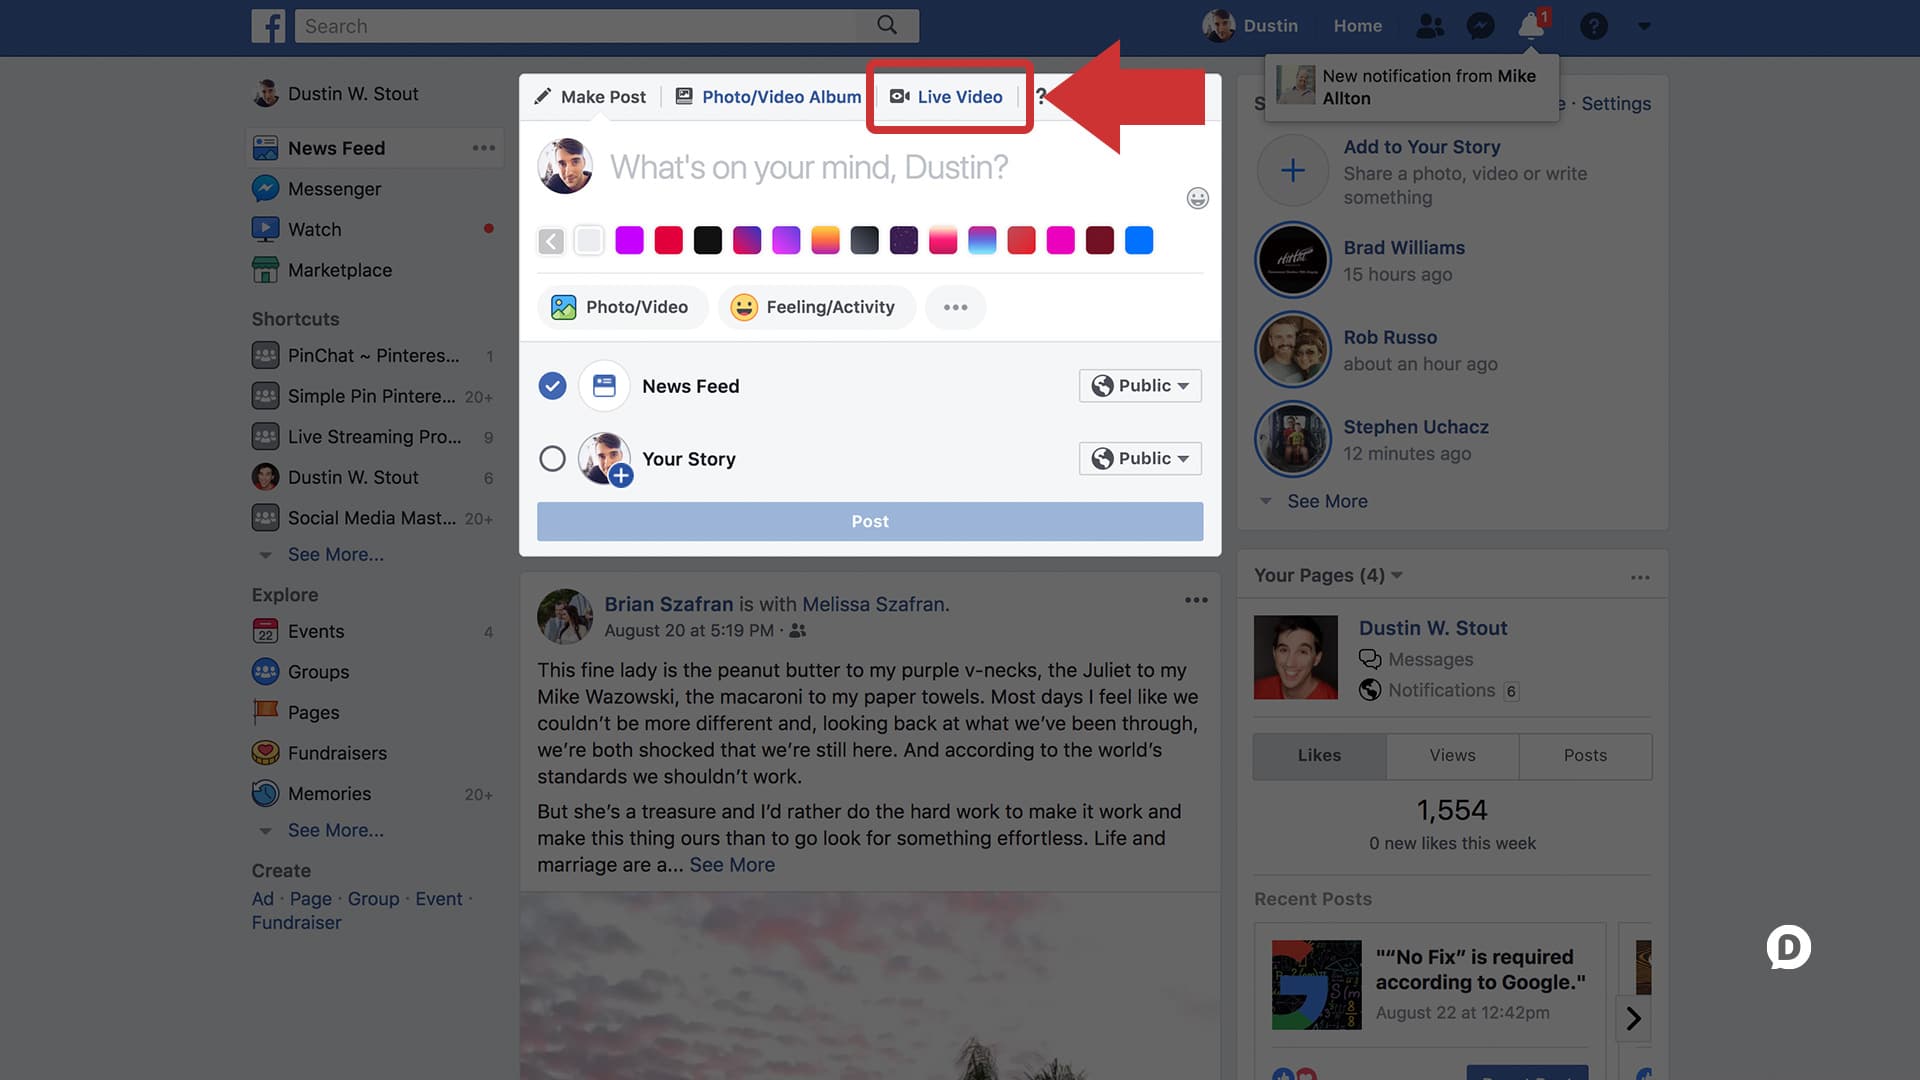
The Facebook Live stream feature is available from your profile or page. All you have to do is to open up your Facebook status bar, select the “Live Video” option for desktops, and the “Go Live” option for mobile users.
Next, allow your Facebook to have access to your device camera and microphone by clicking OK to the prompt that appears.
After that, you can now choose your Facebook Live privacy settings. There are several available options depending on the kind of live post you intend to make.
For example, if I want my video to only be available to people I am personally acquainted with, I can select “Friends” to limit the viewers on my stream.
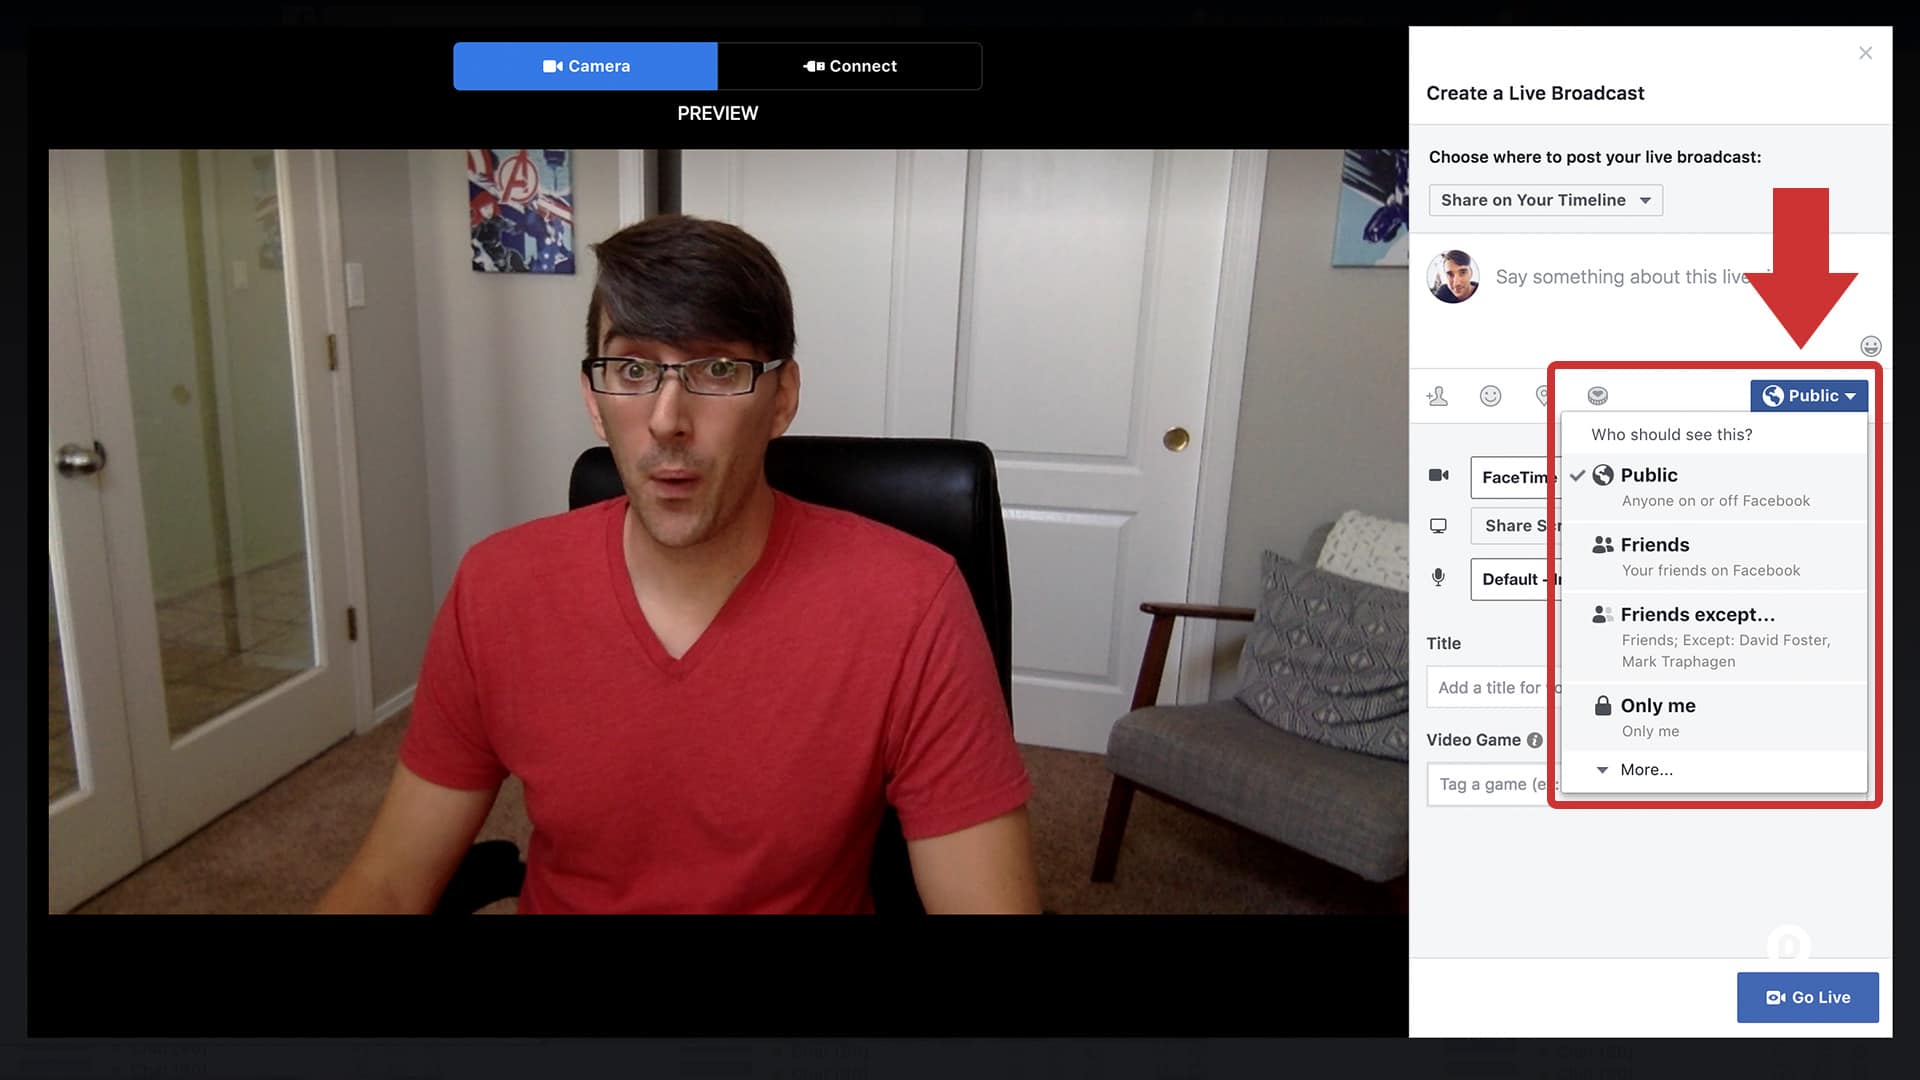
However, if I want to grow my brand, then I set the privacy settings to “Public,” ensuring that my video reaches as many people as possible.
If you are learning how to live stream on Facebook for the first time then, it’s recommended that you select the “Only me” option.
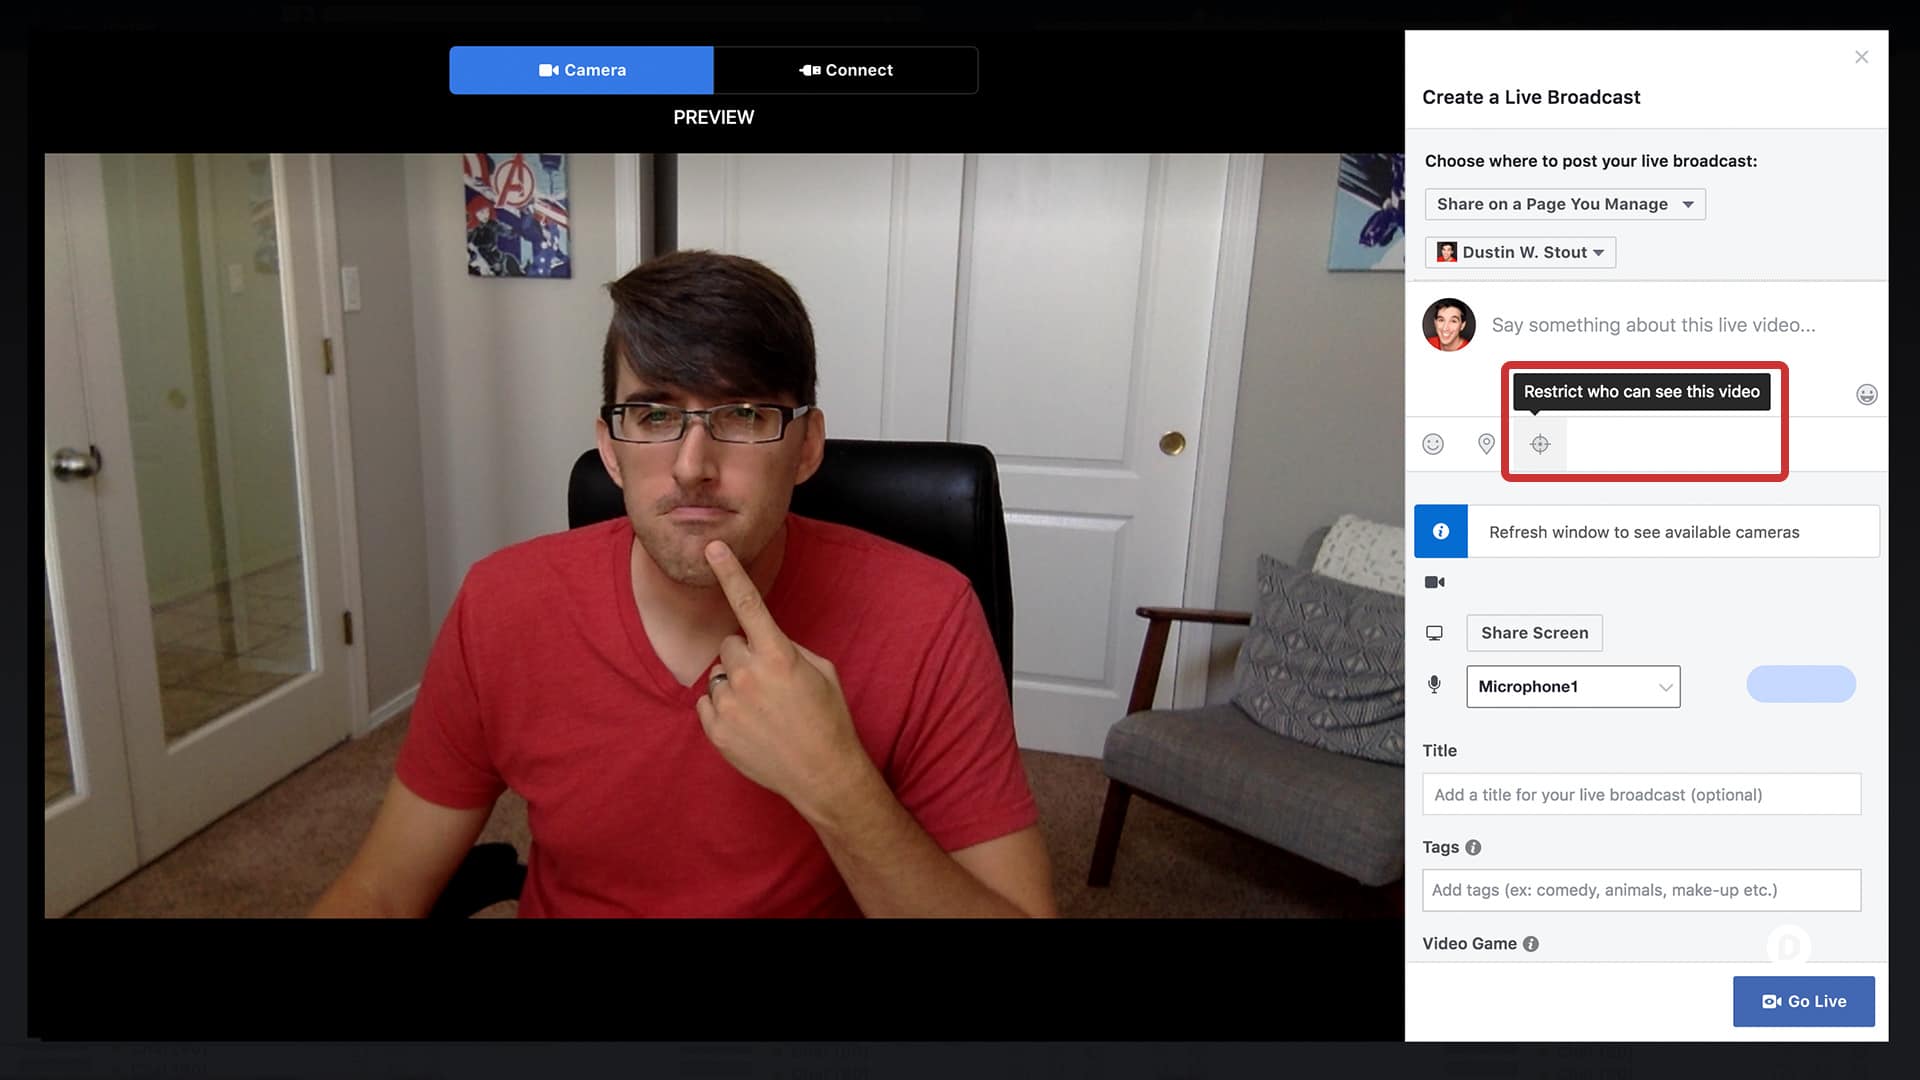
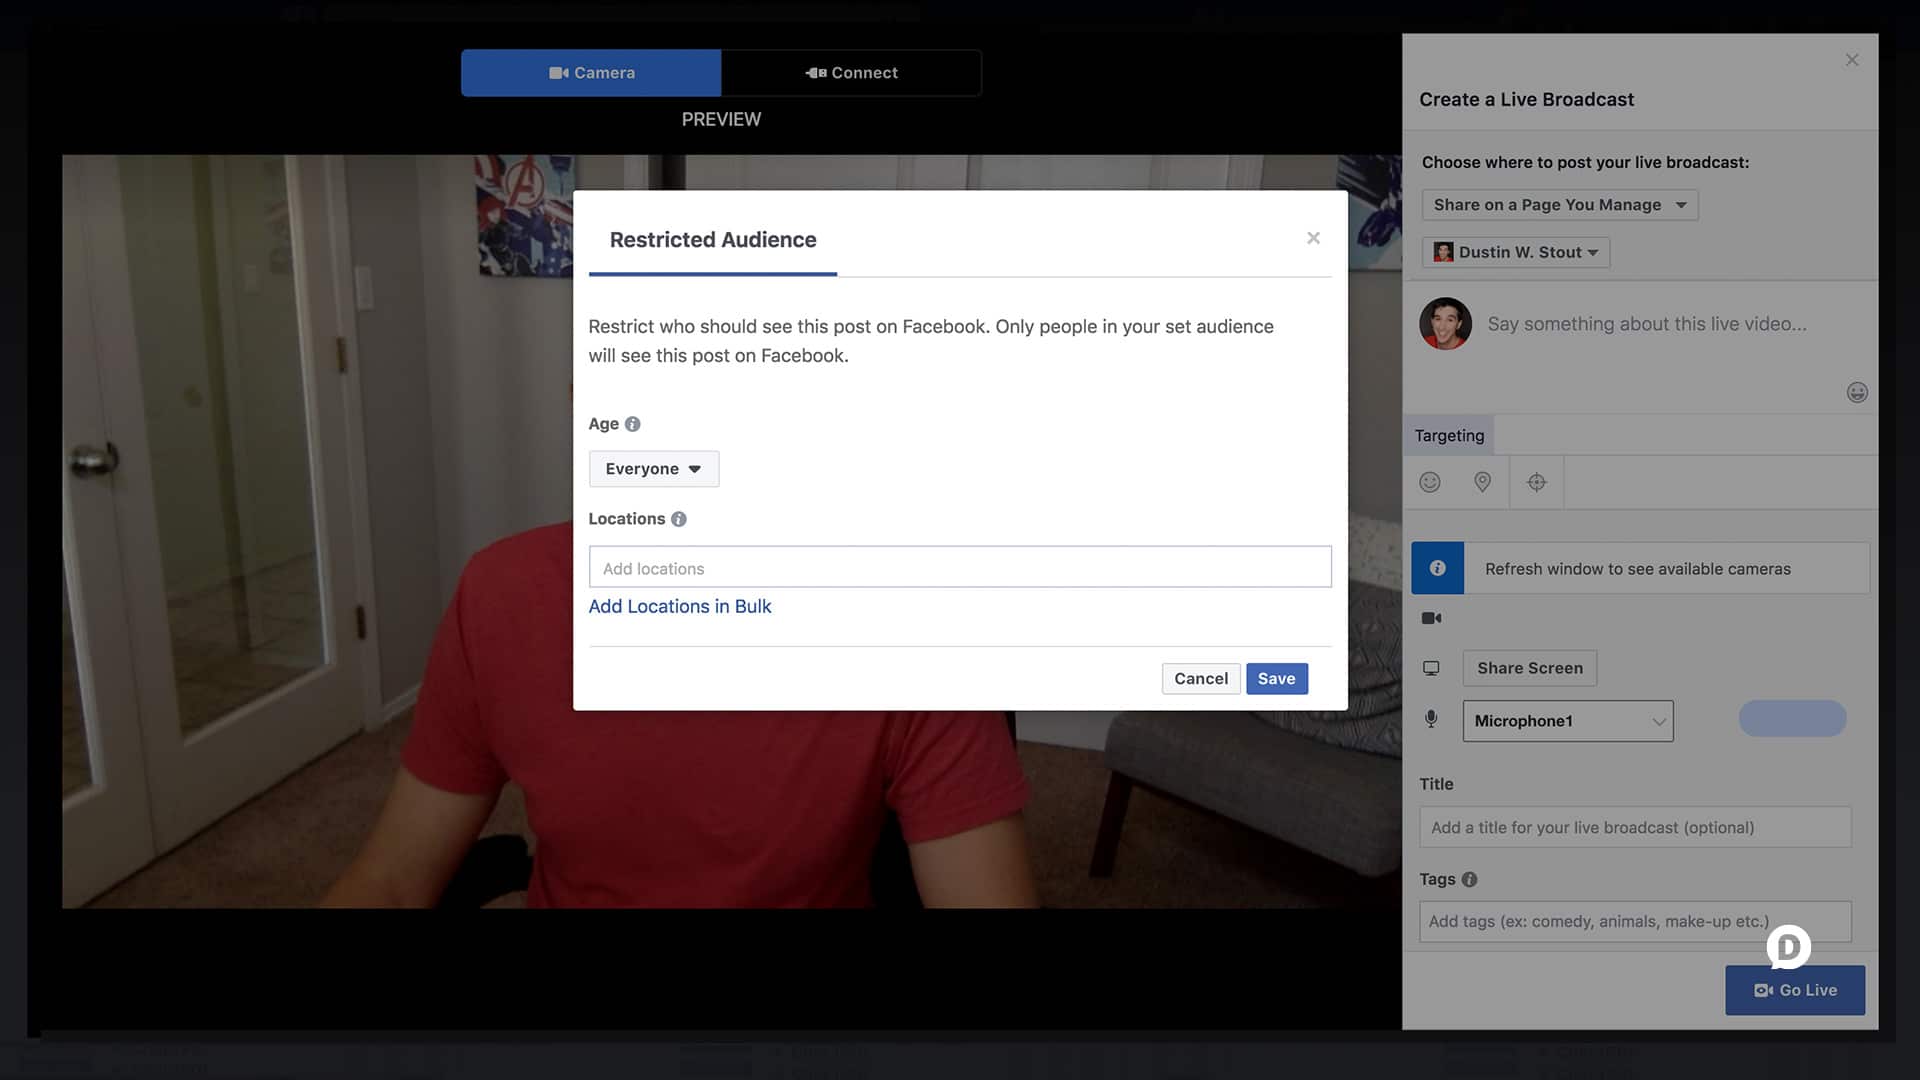
If you’re broadcasting from a page, your settings will look slightly different. Instead of the privacy settings that Profiles have, you can select your Audience and limit the broadcast to certain ages or target specific locations.
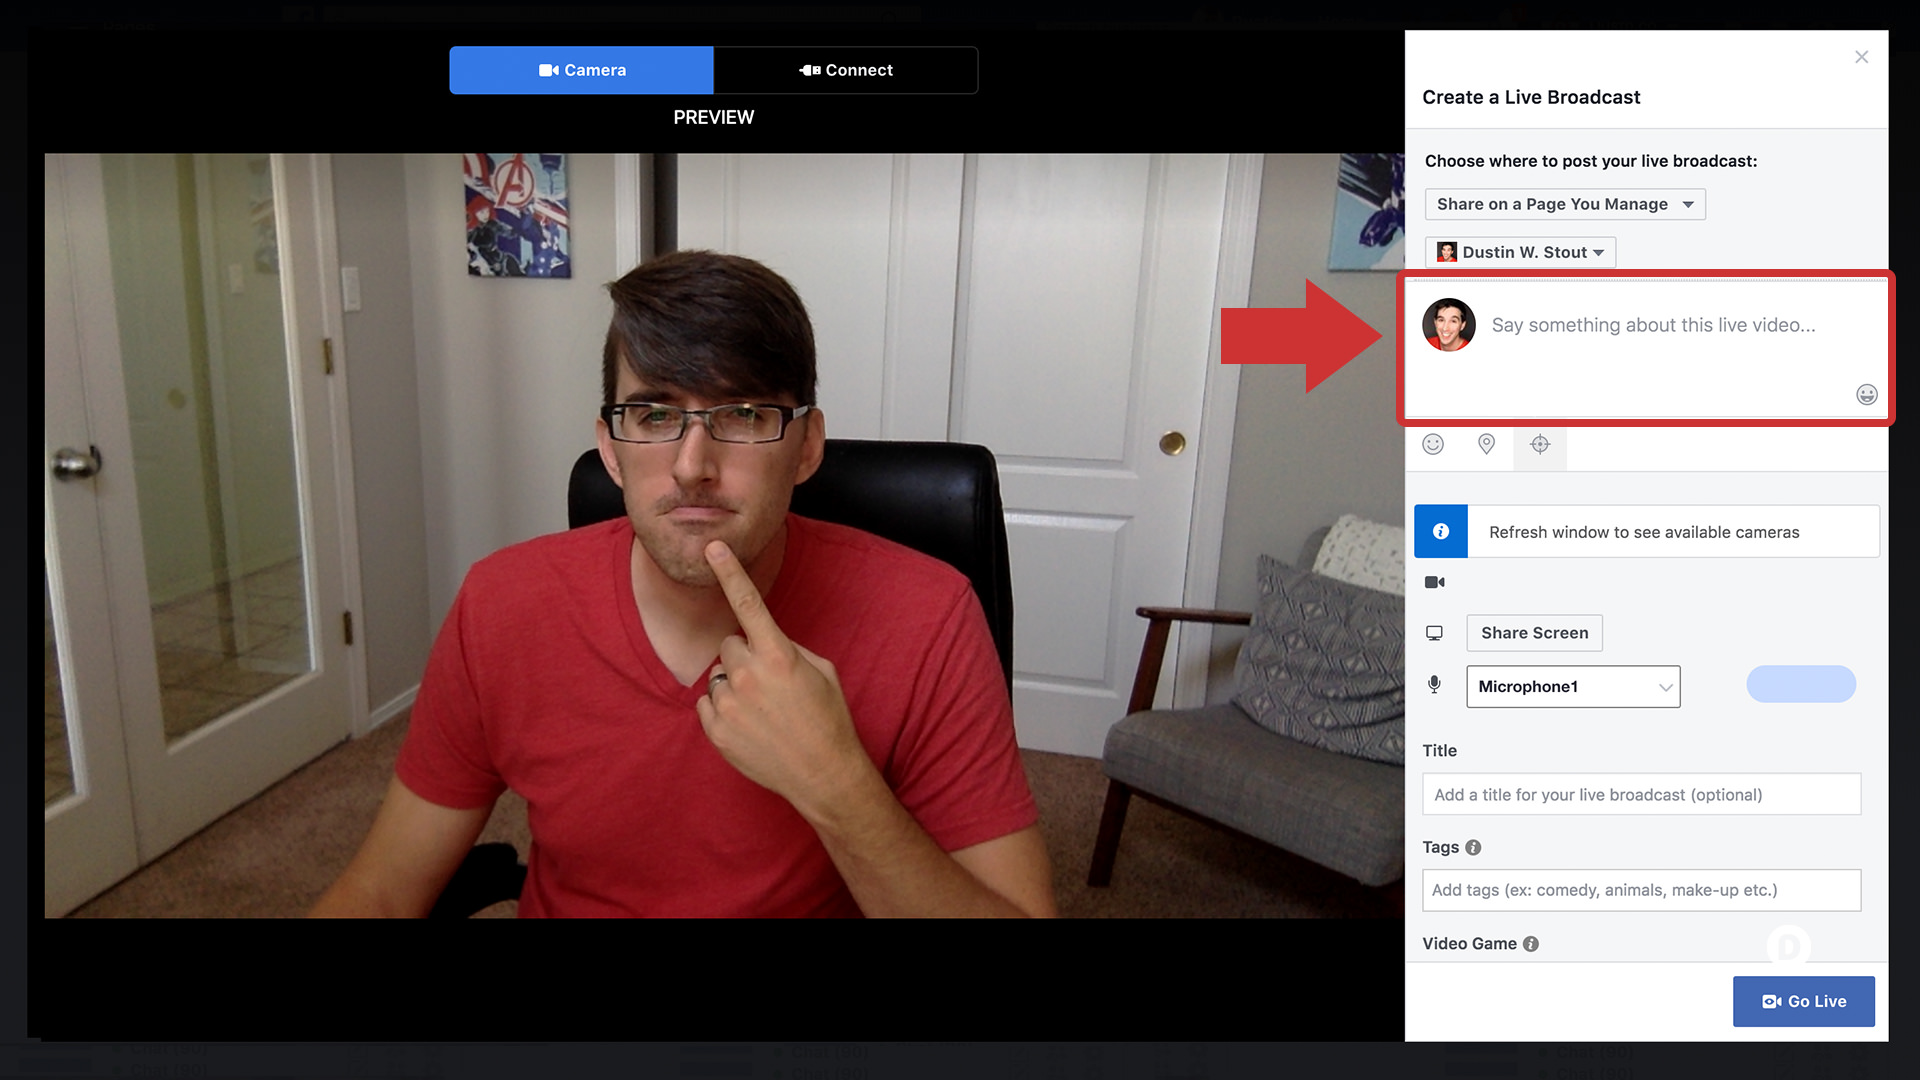
Next, what you want to do is to write a short description that will act as a status update above your video. To reach a larger audience, make sure that your description is compelling enough to grab your audience’s attention.
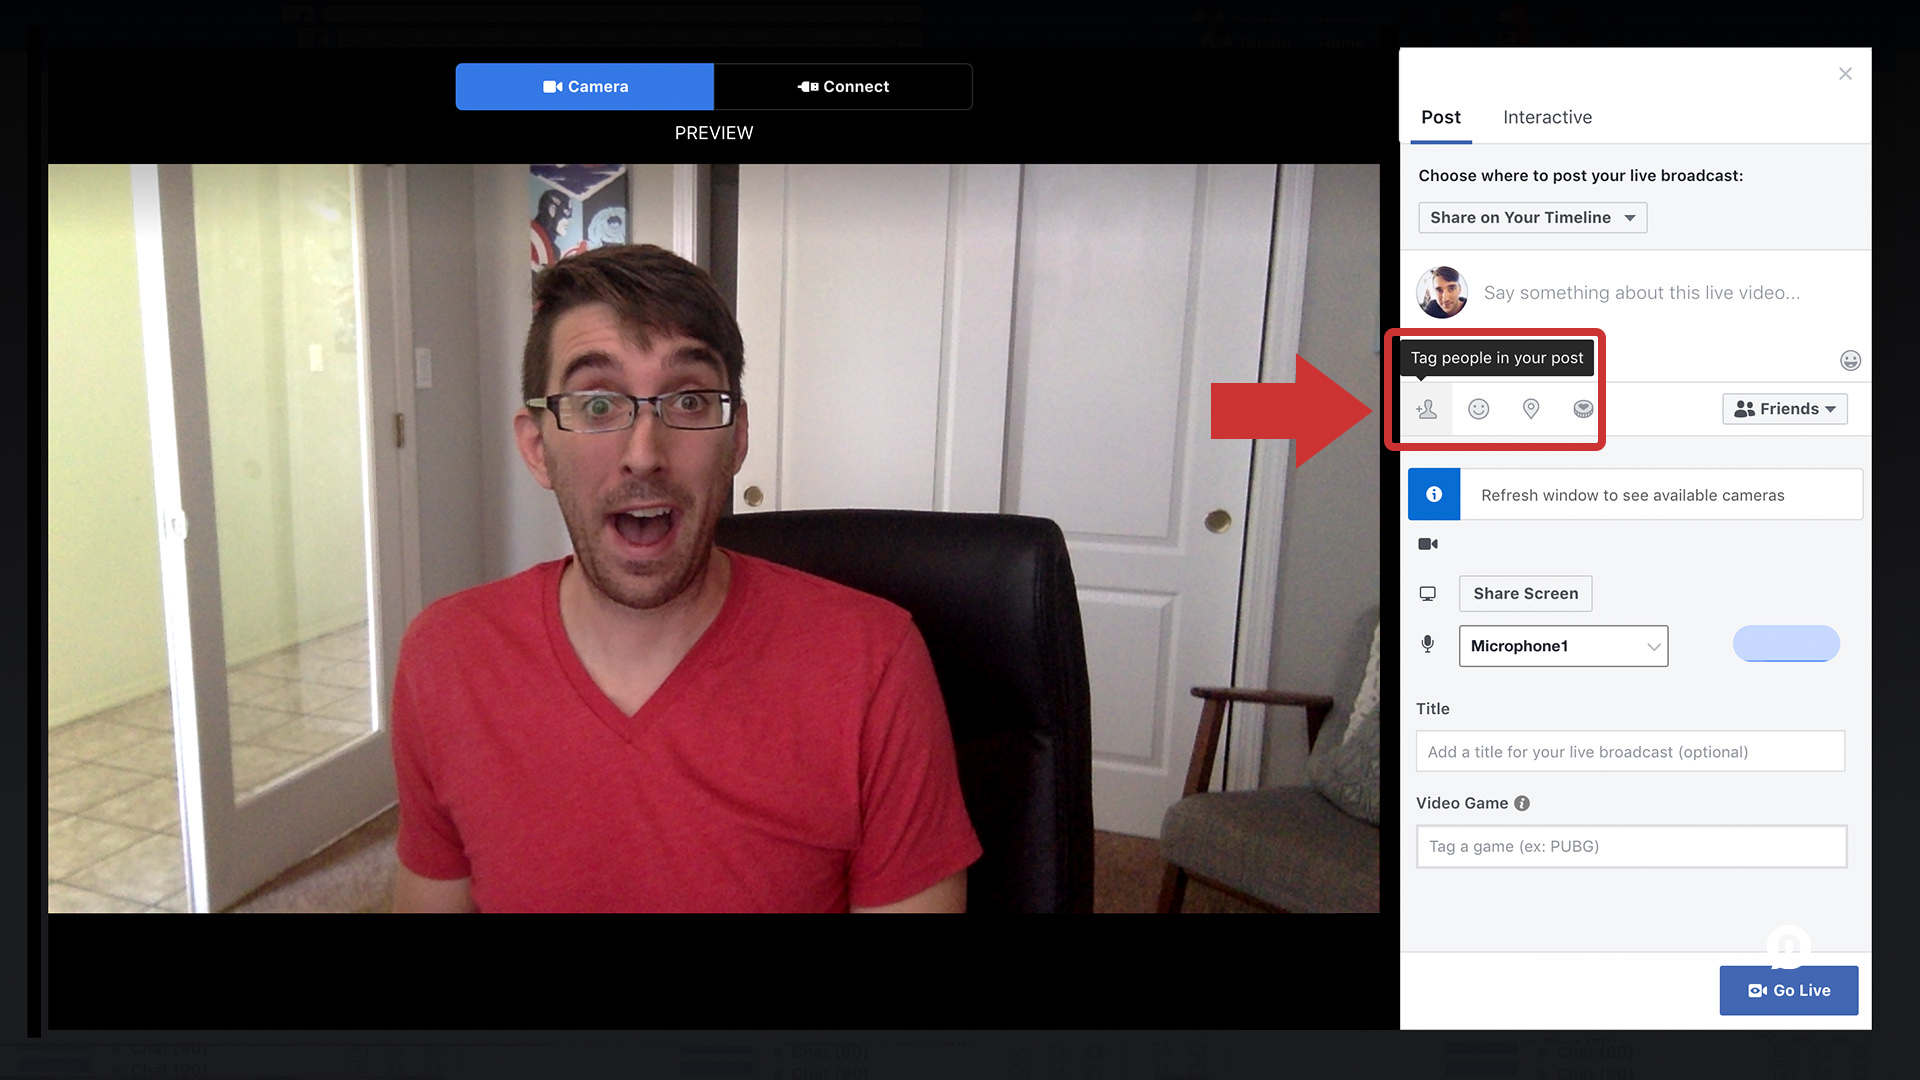
Also, don’t forget to tag your friends! This little step allows instant, guaranteed exposure of your live stream which then ripples out to other possible viewers of your stream.
Finally, ensure that your camera is well set before you click on the “Start Live Video” button. You can change your camera view to suit your taste. For instance, you can adjust the brightness of your live feed.
If you’re on your mobile device, you might want to make your live stream a little more fun by using one of Facebook’s additional mobile streaming features.
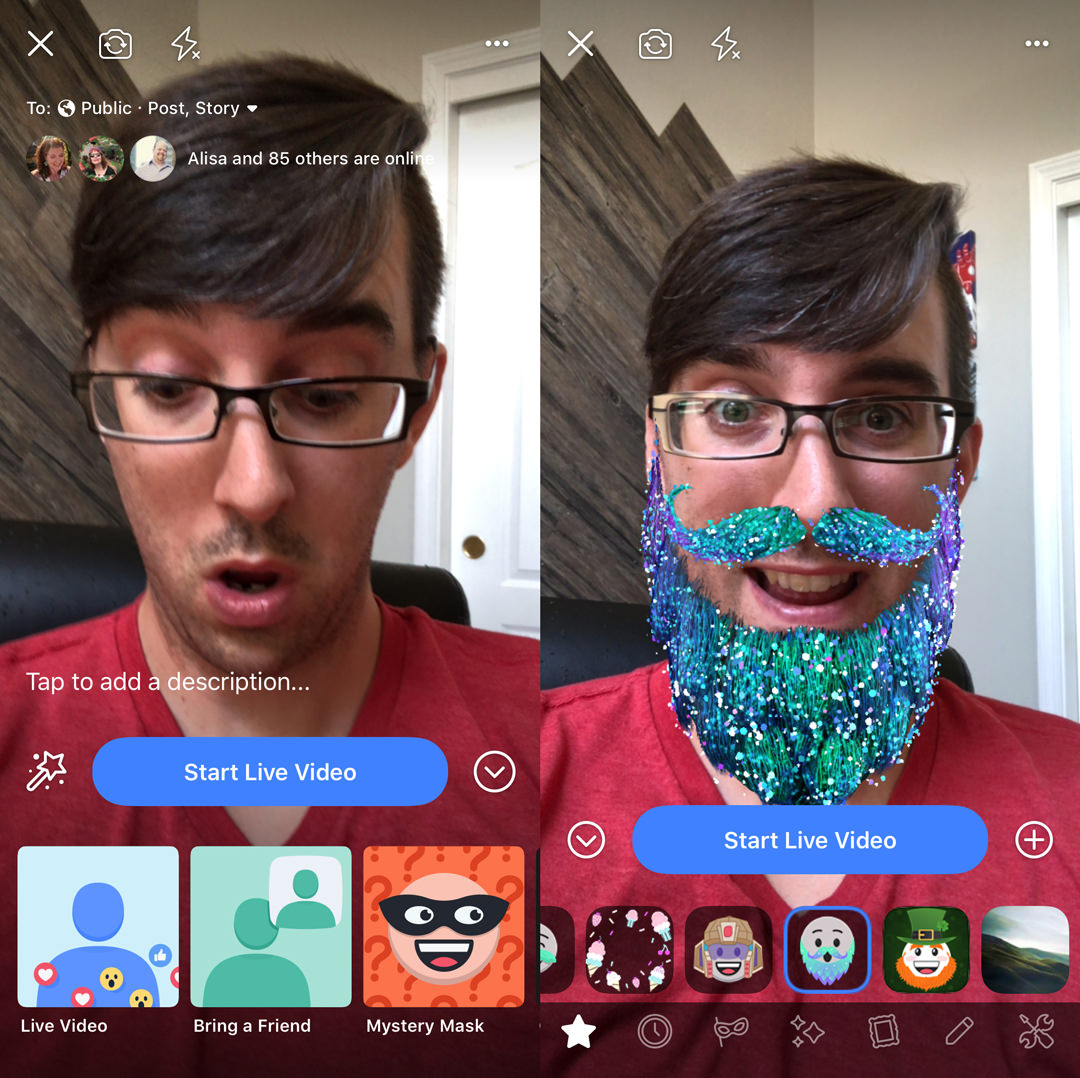
There’s “graffiti” writing, lens changes, augmented reality, and different filters to make the video more interesting and fun. This is only possible for the mobile version of the stream though.
Experiment with what your target audience likes and adjust these settings according to what fits your brand.
When you are done live streaming, click the “Done” button after which you are prompted whether to post your new video or to delete it. If you select “Post”, then the video is posted on your timeline.
Facebook allows you to edit several things after you are done streaming:
- the description of the post (post links to your products on the description!)
- the option to delete the post
- change its privacy settings
Remember: live streaming is all about real-time interaction. You can’t just randomly stream and forget that actual people are watching you!
Talk to your viewers. No matter if they are people who you don’t know, try mentioning them on stream once they show up or react to it. You can also make it a bit more interactive by doing something and asking for a reaction on the comments or by asking them to click on an emoji.
This helps you to maintain your audience trust as a genuine and a real brand.
Instagram Live Video
Instagram is yet another platform that has amazing features to help you grow your audience.
Instagram Live Video is a feature of this platform that works quite similar to its (slightly) older sibling, Instagram Stories. The latter allows users to post short picture stories that can be seen by followers and can last up to 24 hours.
Instagram Live Video, however, functions like a normal live media streaming service, but greatly optimized for mobile device use.
How to make Instagram live videos
Starting a live Instagram video is so simple!
If you want to start a live stream, all I need to do it to swipe right while you’re on your main feed to start the camera.
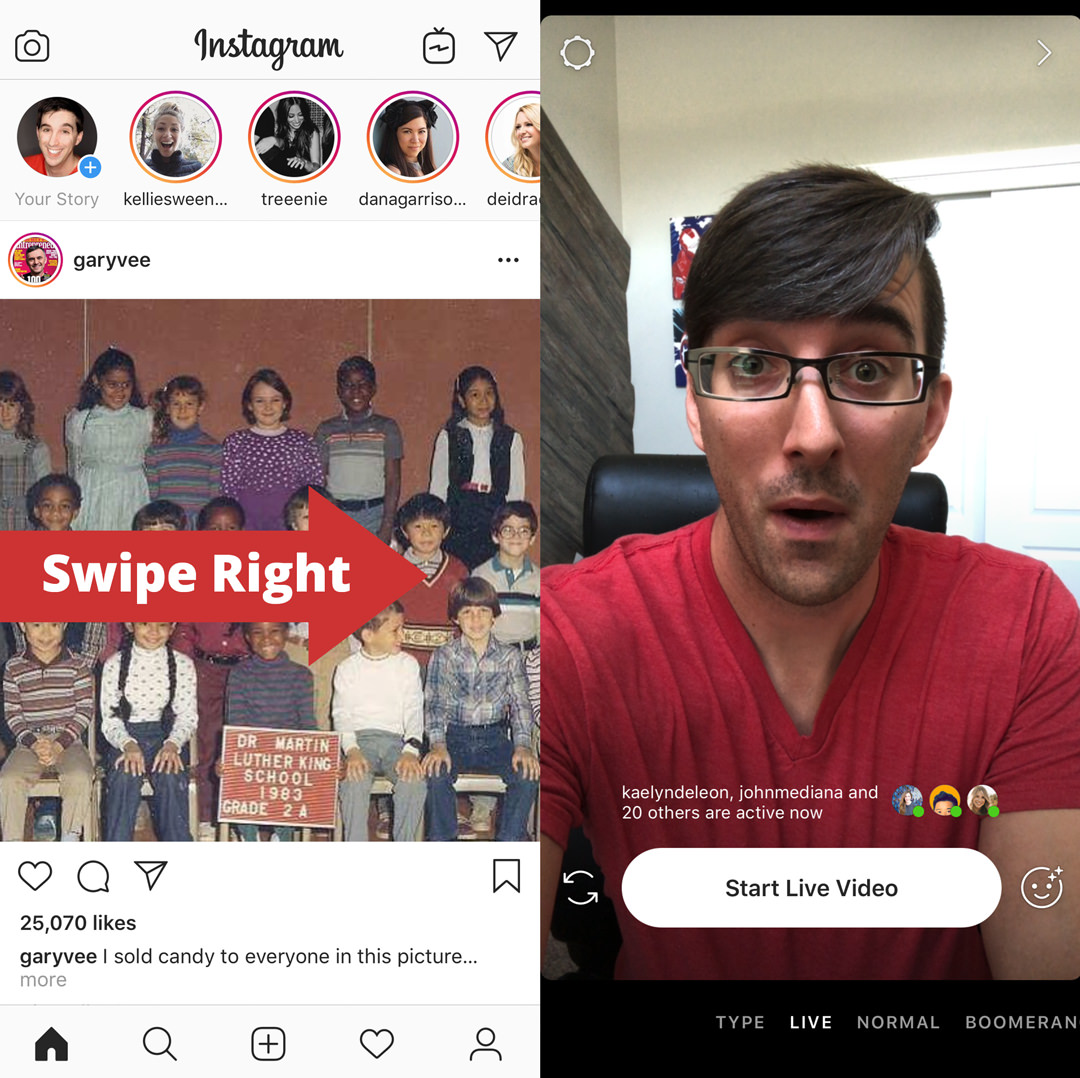
You can also click on the camera icon located at the top left corner of your feed as an alternate way to start a live story.
Once the camera opens, you can then change your camera settings from normal to live and finally tap on “Start Live Video” to start streaming.
If your followers haven’t turned off any live notifications from Instagram, they would be notified that you have started a live stream and that they should “Watch it before it ends!”
Although Instagram was initially portrayed as a photo sharing platform, it has proved without a doubt that it’s capable of doing much more than just sharing images. Instagram stories have taken social media marketing to another level for companies that are already using Instagram.
Are you a gym instructor? Are you offering Yoga lessons? If yes, then you should consider investing in Instagram live stories as a way to promote what you do. Remember, seeing is believing!
As long as you know that your target market is on this platform, then using Instagram Live Stories will surely be a big boon towards your marketing efforts.
And since Instagram is home to a bevy of powerful influencers, you can consider employing a reliable marketing company that will focus on publicizing your brand.
YouTube Live Streaming
Ah, the granddaddy of online video! One of the websites that revolutionized the way videos are viewed online.
Did you know that they have a live streaming function too?
YouTube Live is both available as a mobile and desktop feature.
Let’s talk about the desktop live stream function first.
In the past, you needed to have a third-party software such as an encoder software for live streaming so you can do a live stream on your YouTube channel.
But now, a recent YouTube update has allowed live streams for desktops directly on the platform.
How to Use YouTube Live on Your Desktop
First, click on the video camera-looking icon on the top right of your YouTube homepage.
There will be two options: “Upload a Video” and “Go Live.” Select the “Go Live” option.
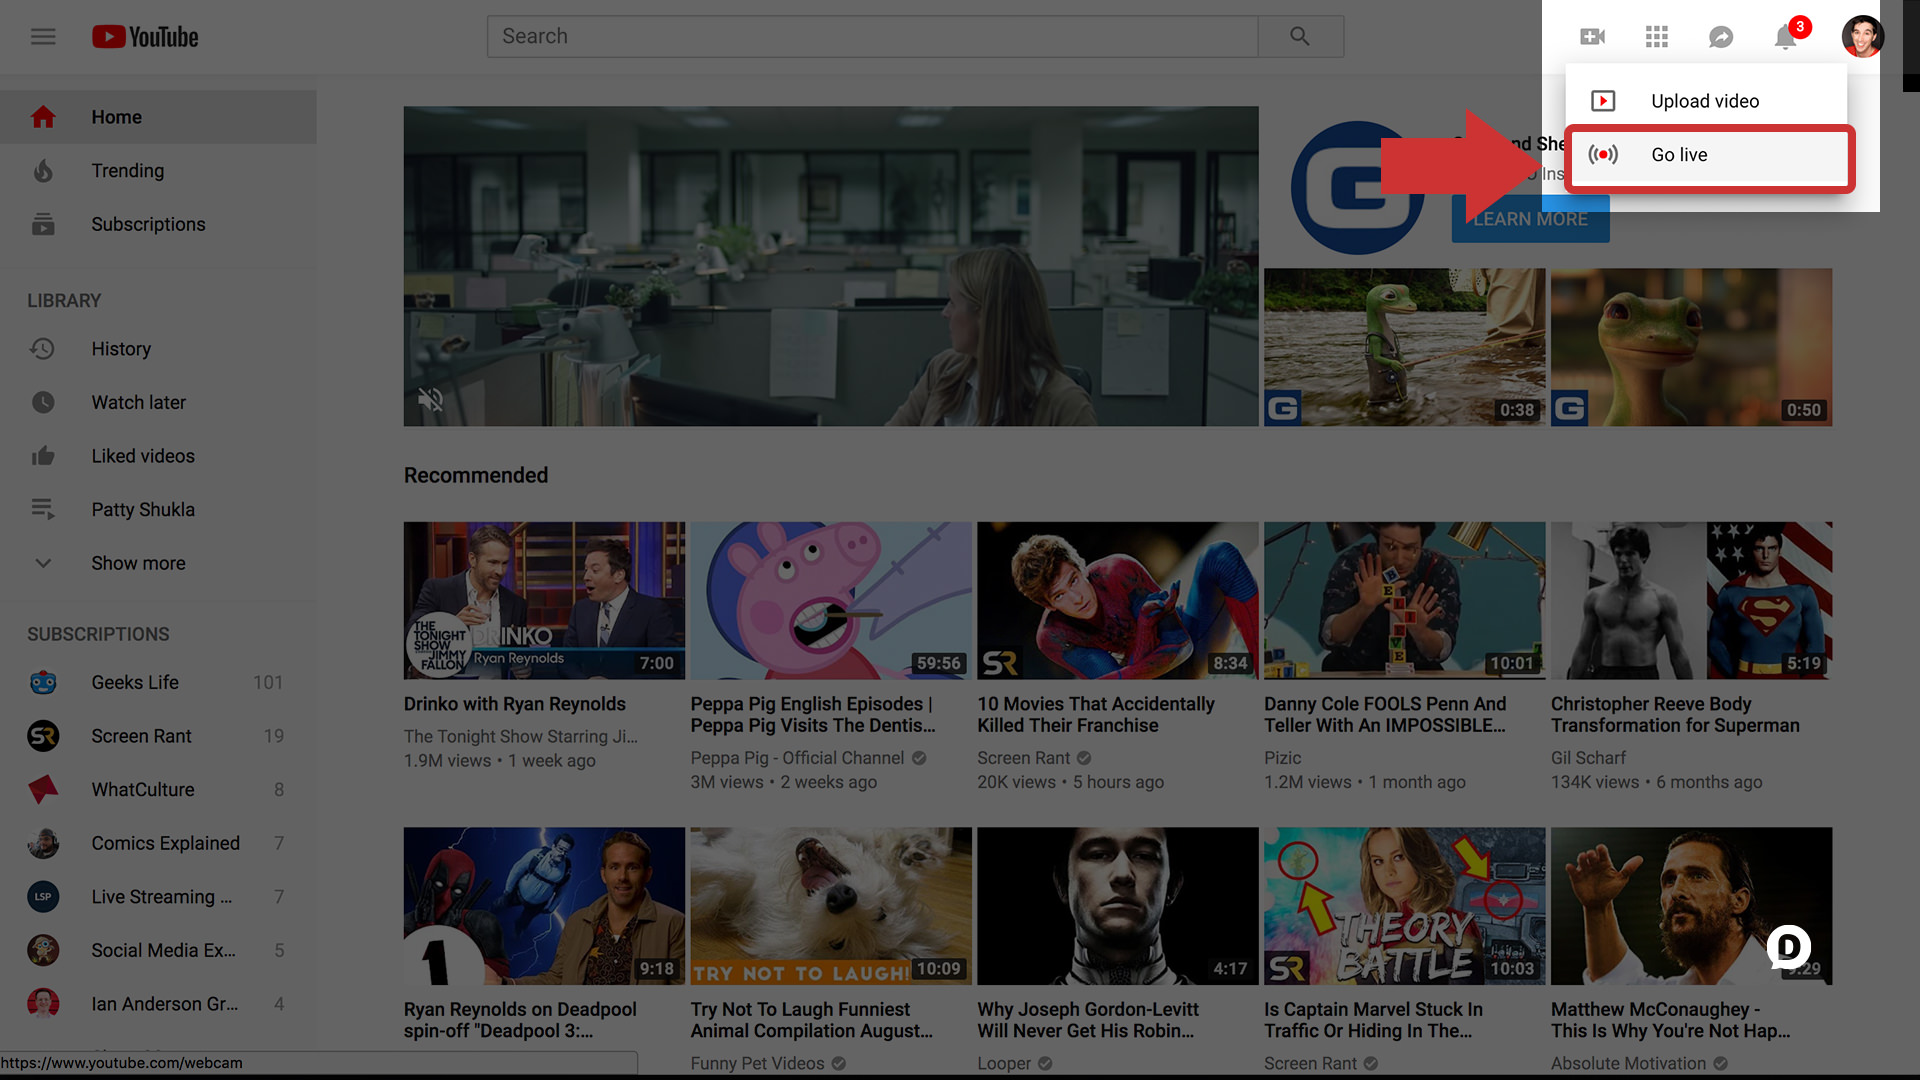
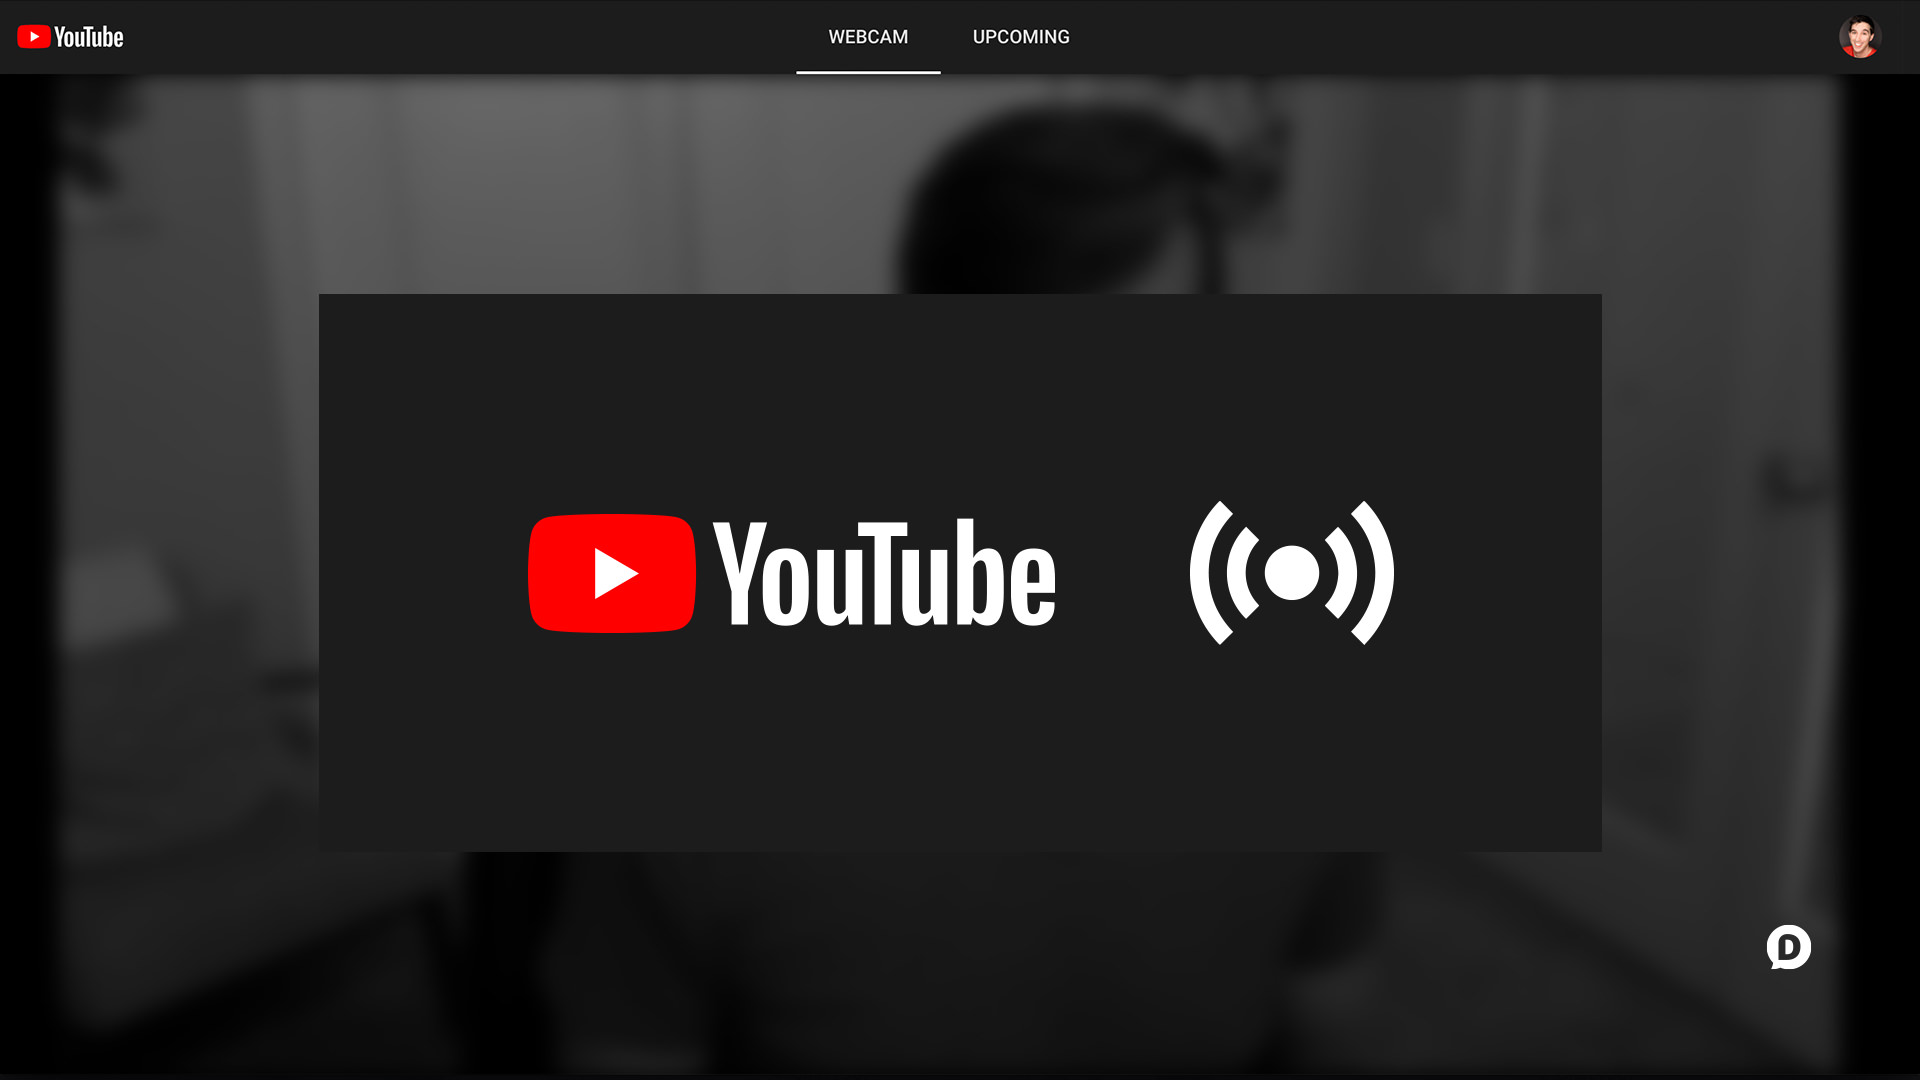
You will be then bought to the “webcam” stream window and there will be a basic form to set up your stream.
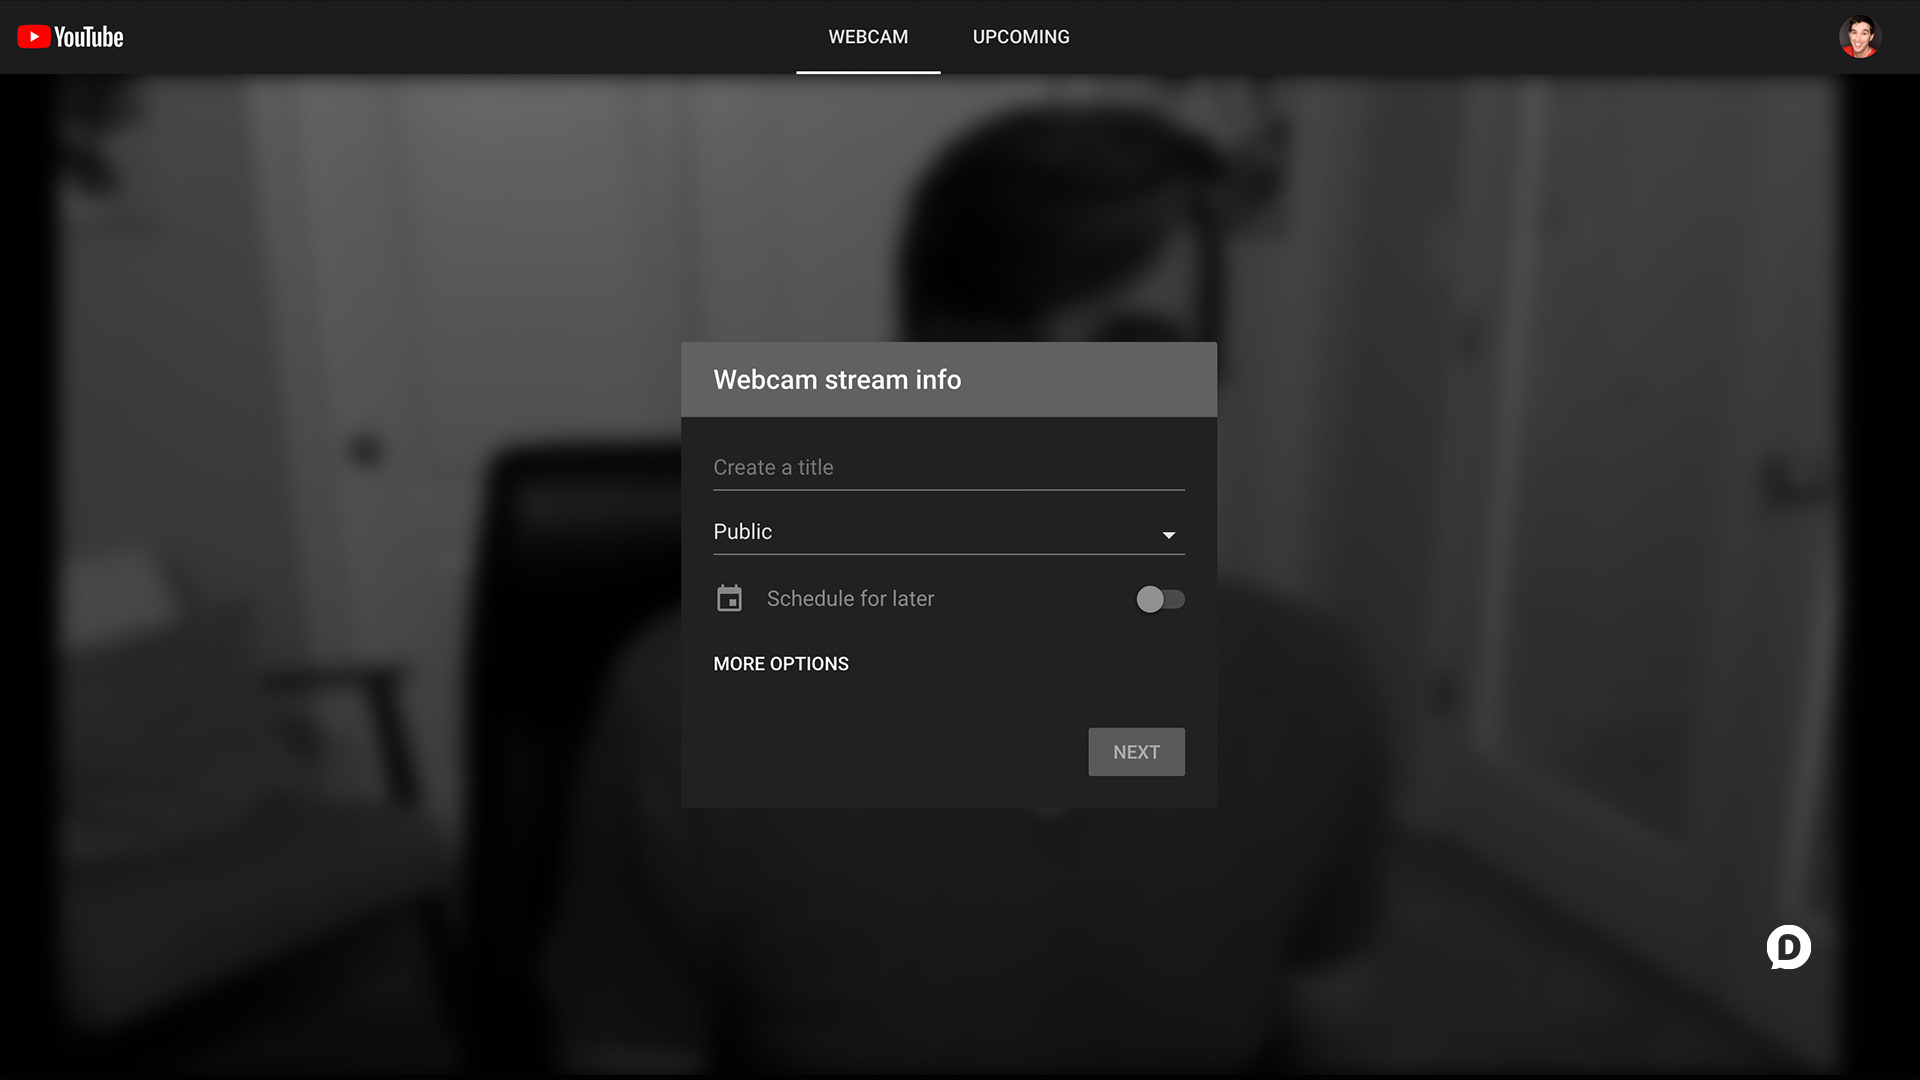
Now, all that is required for you to start streaming quickly is to give your stream a title and then choose if you want it to be Public, Unlisted, or Private.
- Public – Everyone can see your stream
- Unlisted – Everyone with the link to the stream can see it. You video cannot be searched but other people with the link can spread word of your stream.
- Private – only those you invite to view the live stream can view it. They must have their own YouTube accounts. The maximum number of people that can view the stream is 50.
However, if you want to fine-tune all of your streams settings, you can click “More Options” and get the following:
- Add a description – write what your stream is about. You can put links here, and can add other information that will help your stream convert viewers to followers or even customers.
- Choose the appropriate category for your stream.
- Pick the active webcam/streaming camera you have.
- Pick the active microphone you are going to use.
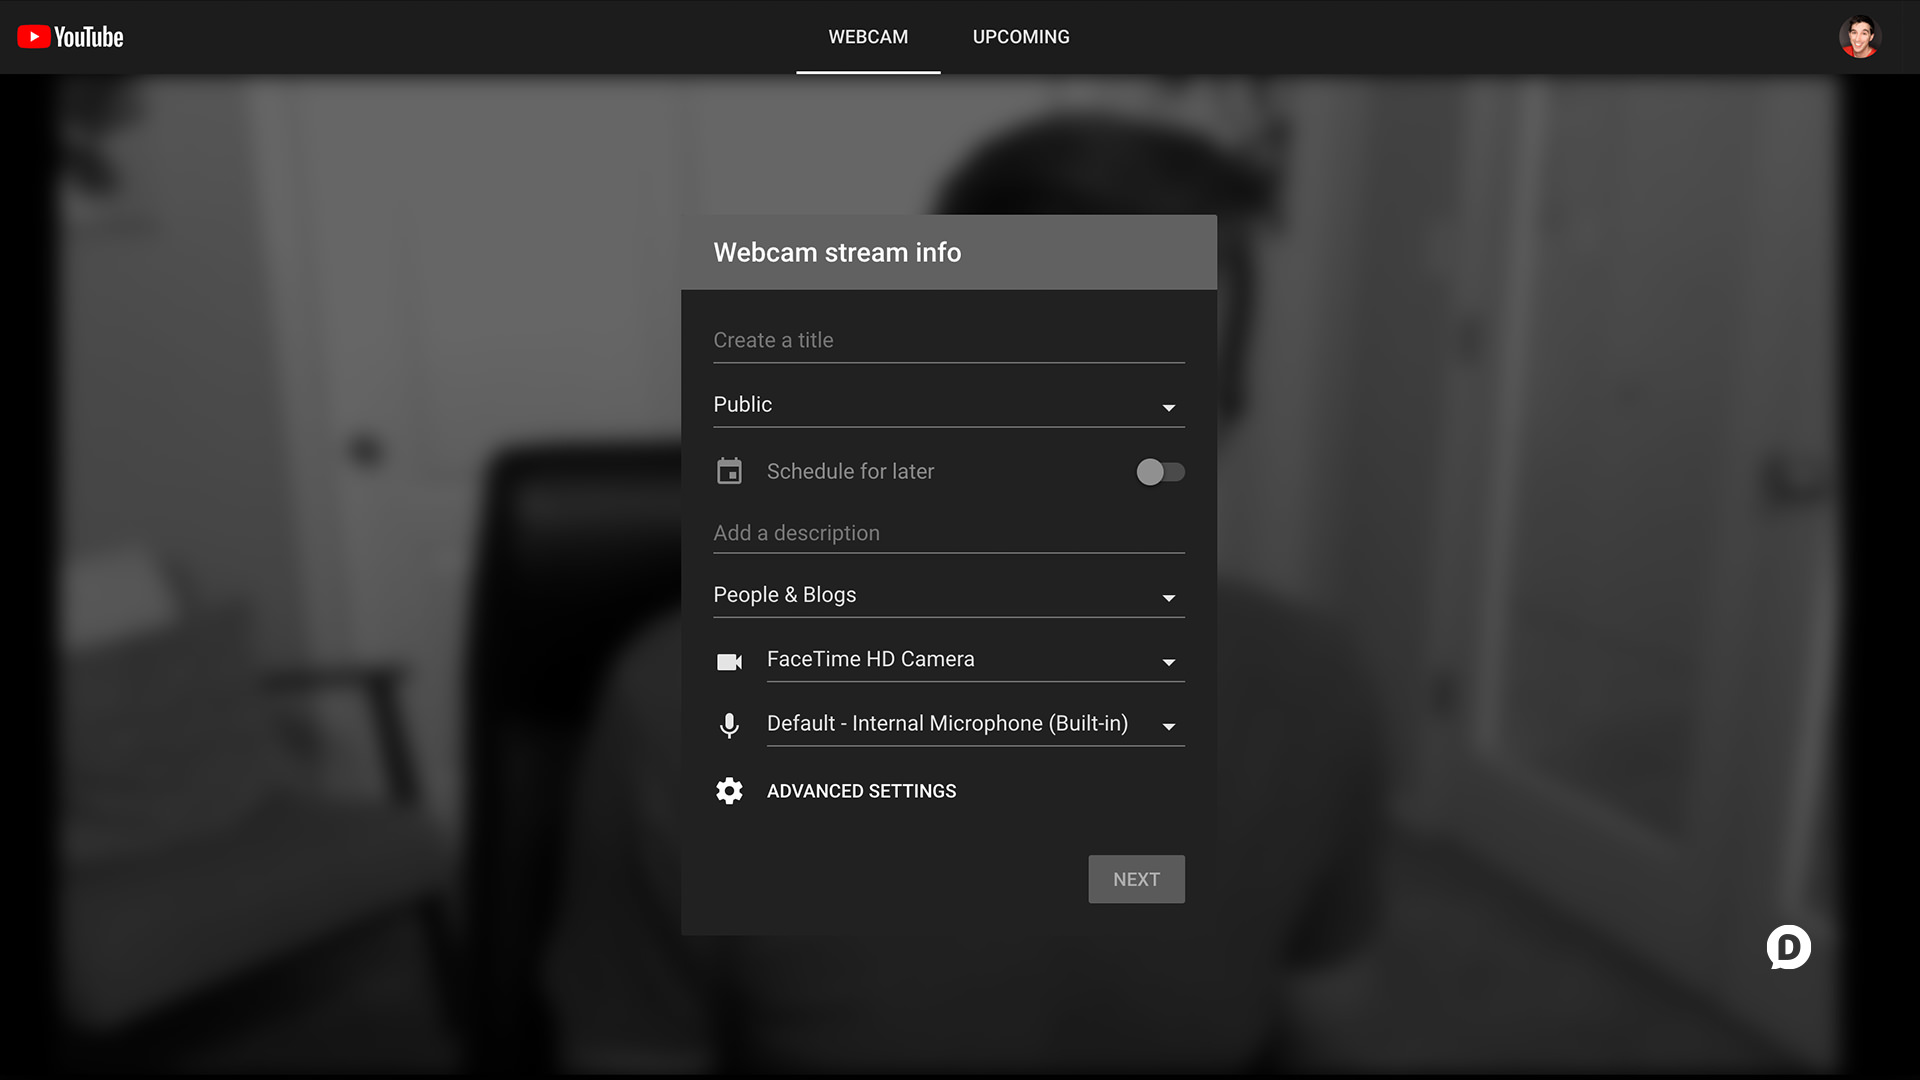
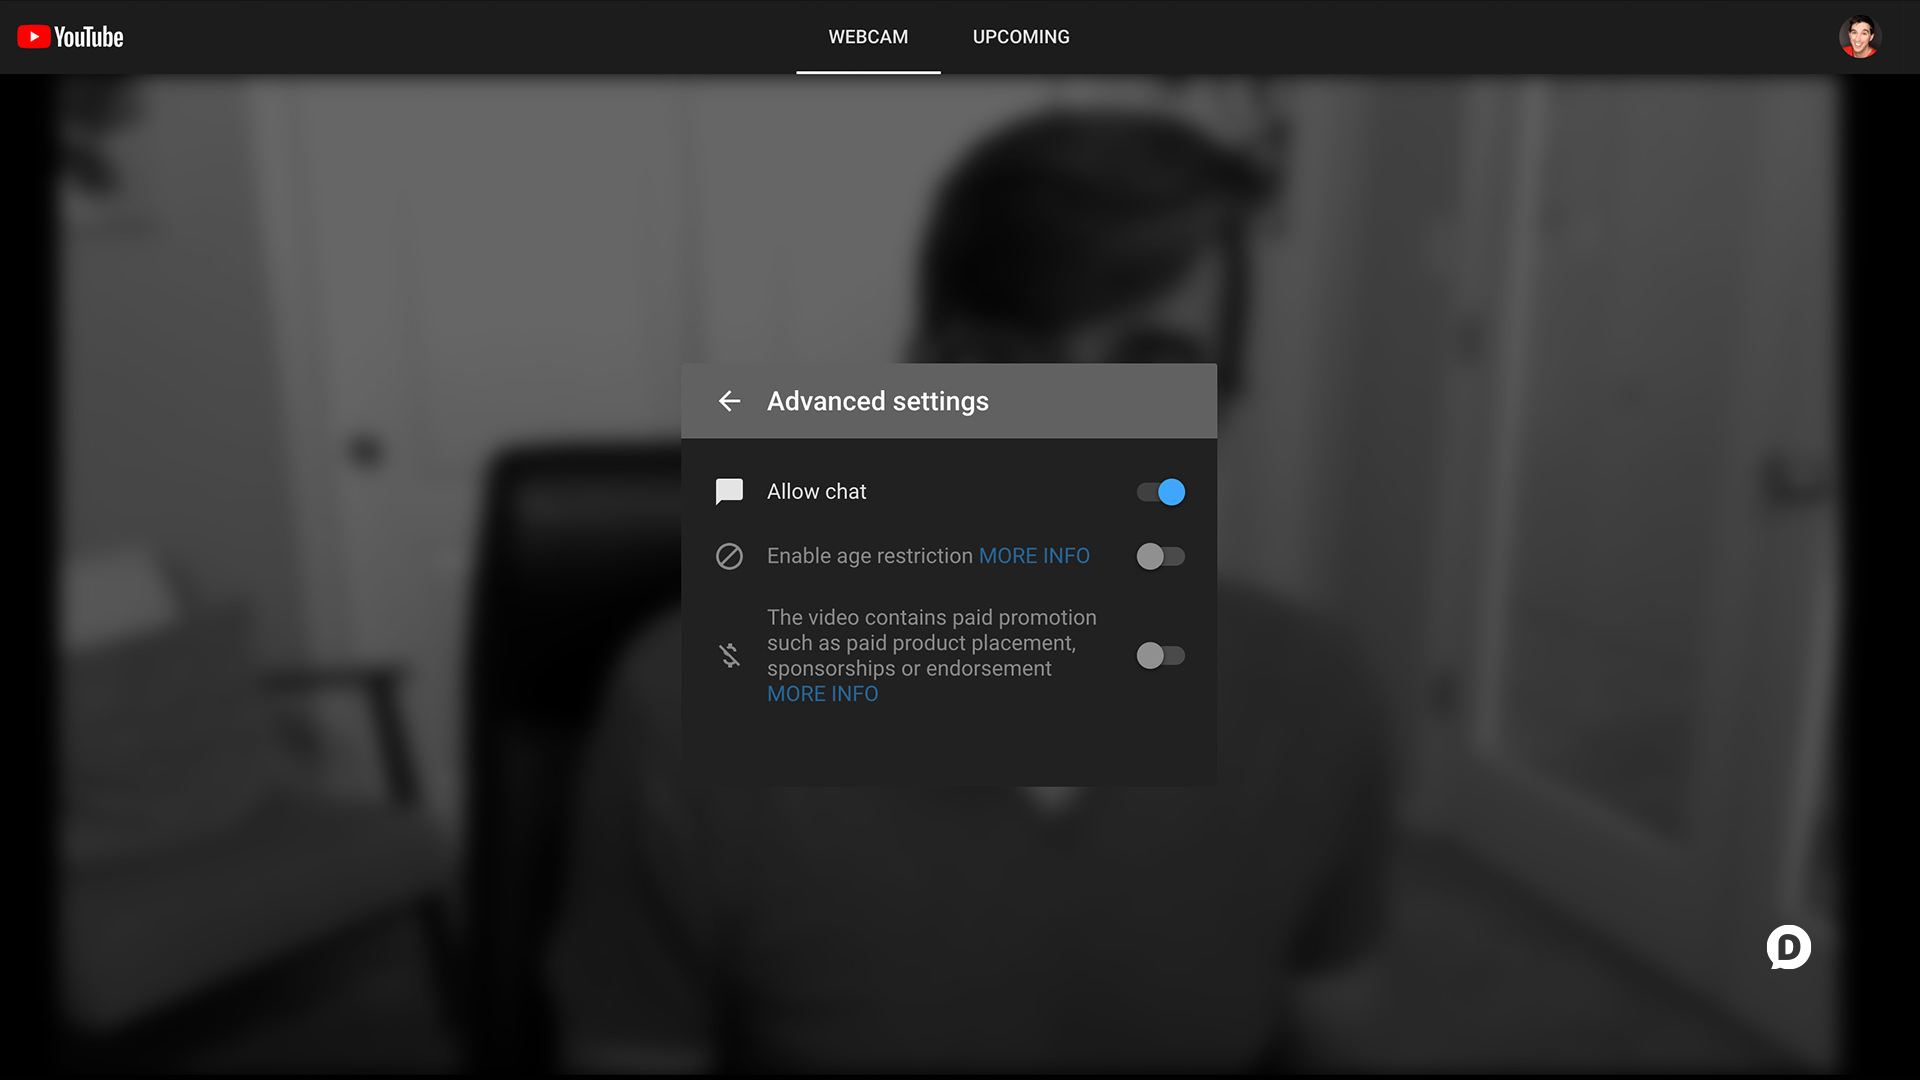
And if you want even more fine tuning of your live stream then you can click on Advanced Settings which contain:
- Allow chat – You can turn the chat box on your stream on or off. I recommend turning it on to allow you to interact with your audience.
- Enable age restriction – This restricts viewers from a specific age to view your stream instantly. if they are logged off their YouTube accounts, it will show an age restriction wall and will prompt people to log in to their accounts so they can view your stream. I recommend you turning it off unless you really need to.
- Paid promotion – You can turn the slider on if you have product placement, sponsorships, or paid endorsements on your stream. Used mostly by independent creators. If you are a business and are only promoting your own products, I recommend turning this off.
Now, you don’t need to configure all these settings every time you do a YouTube Live Stream. As I said previously, you can just stop at title and privacy and hit the “Next” button to head to the broadcast screen.
By the way, I skipped one line on the screen since it’s an interesting feature you can use for different purposes–the Schedule for later function.
This function can be used to scheduling your stream on a specific date and time.
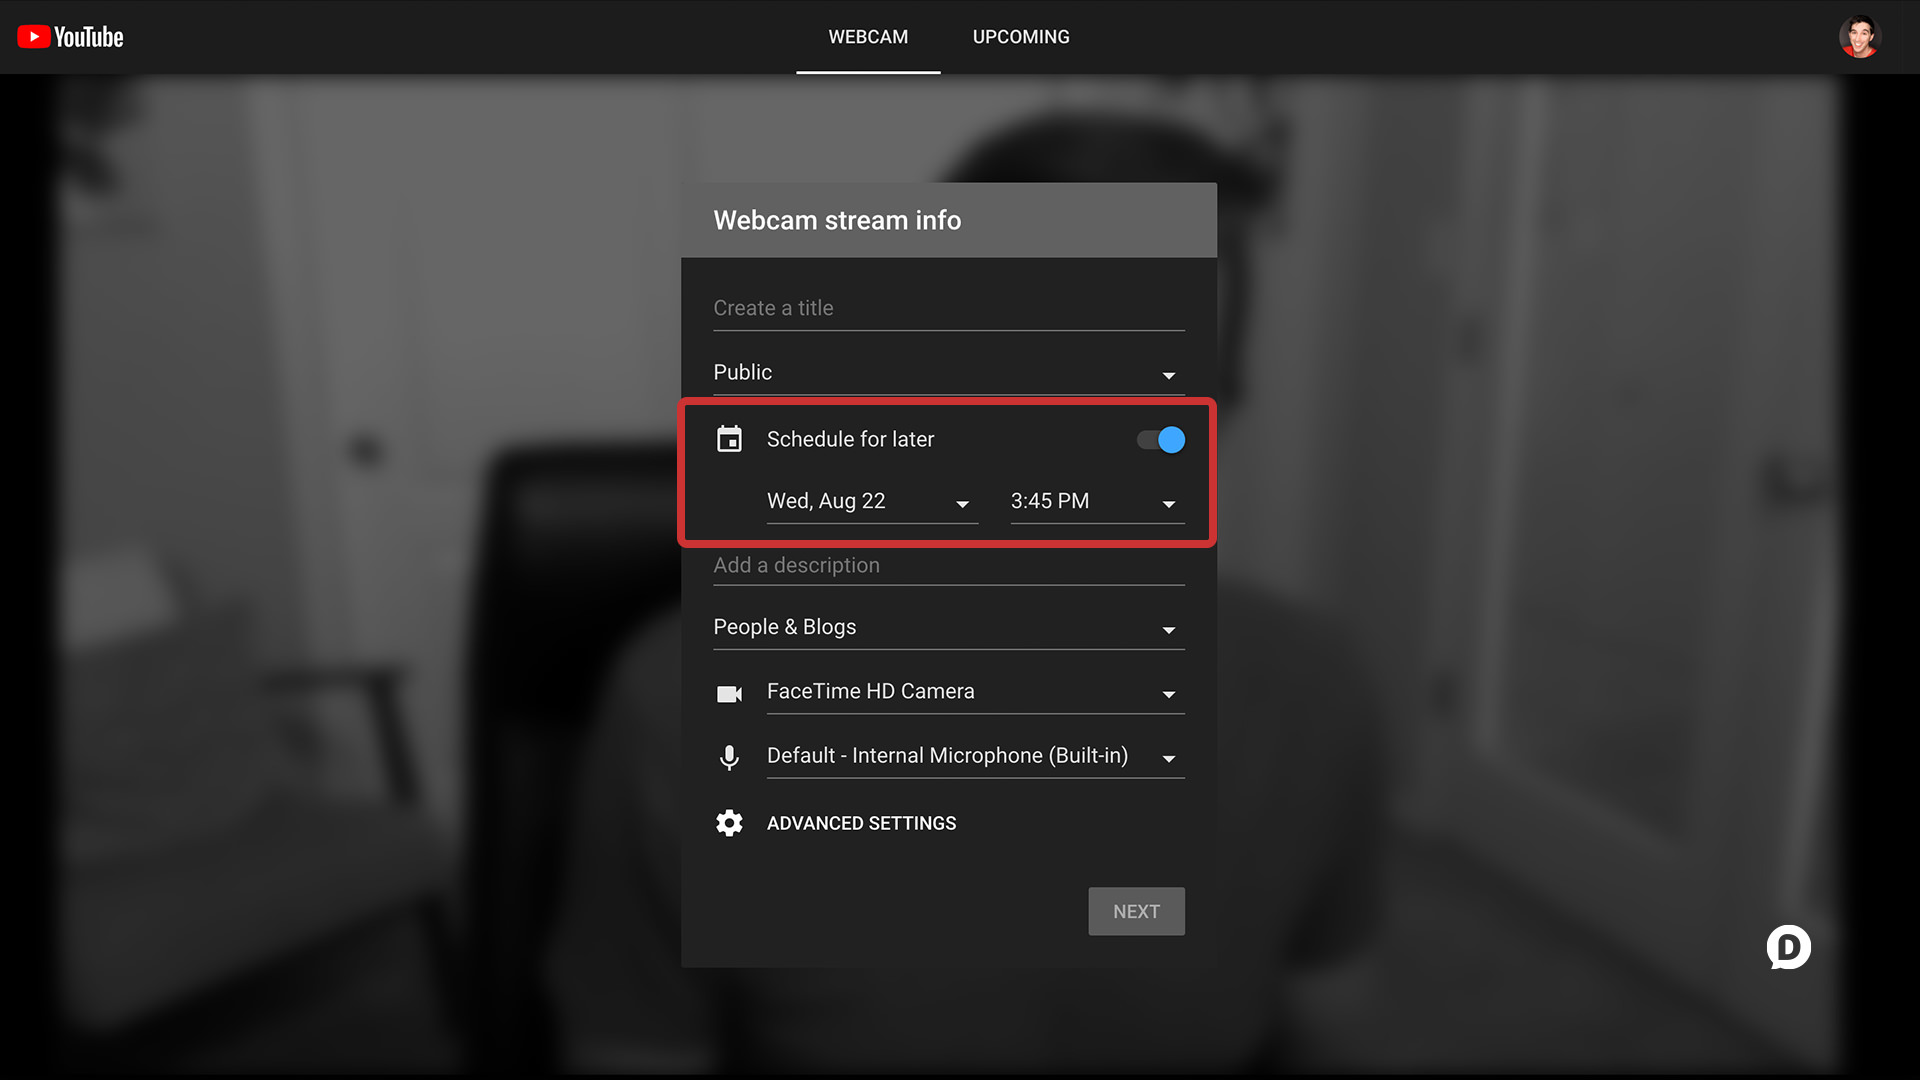
Activate this if your want to schedule a stream at a later date, and you will be brought to the next tab on the window named Upcoming. Here, you can see a schedule of when your next stream will happen.
This will alert your subscribers of the schedule, and will alert them again if you have started your stream on the scheduled date.
If you are not going to schedule, just leave it off then click next, and you are good to go!
Once you click the “Next” button, you’ll arrive on the broadcast screen. Here you have the option to retake the automatic screenshot that YouTube takes or upload a thumbnail.
When you’re ready to “Go Live” with your stream, just click the blue button and you’re live!
Once you are done streaming, just click the Stop/Finish button, and the stream will automatically be saved as a video on your channel.
Sound complicated? Maybe.
Too much to do for starting a stream? Probably.
Important if you want the best live streaming experience possible? Definitely.
Desktop YouTube Live is definitely for those who want to fine tune their broadcast and give it some extra polish. For the more casual live streamer, you can also try YouTube Live on your mobile device!
Mobile YouTube Live
If you intend to live stream using your mobile device, then you just need the official YouTube app.
From the app, select the video camera icon.
Here, you can choose either to upload a video from your library, record a new video and directly upload it, or Go Live.
Press “Go Live”.
Just like on the Desktop version, you’ll need to give your live stream a title and select the privacy settings.
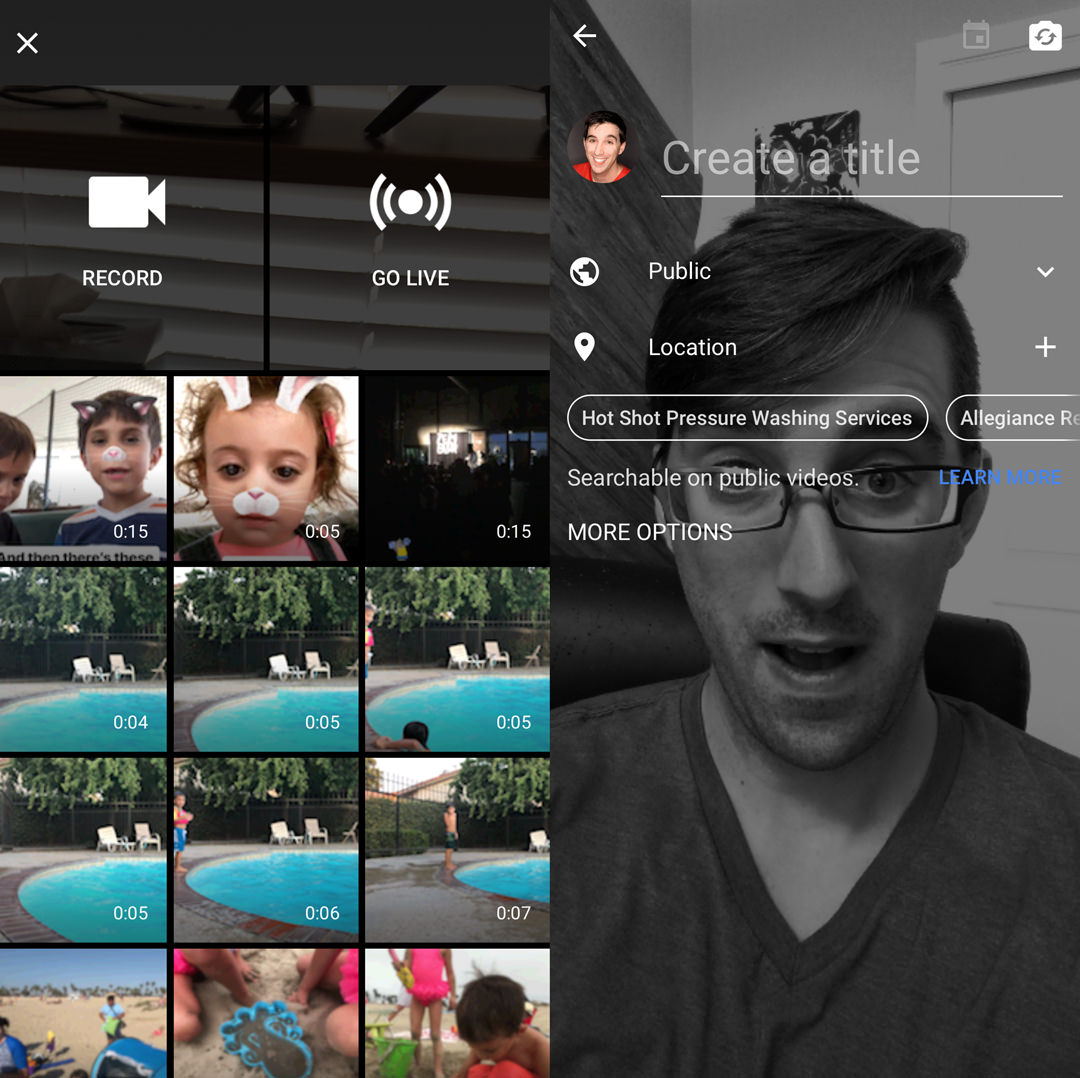
It then gives you the same “More Options” as the desktop version.
Similar to the desktop version, your subscribers will also be alerted on when you will be streaming and on the moment you start your actual stream.
Once you stop streaming on your mobile device, YouTube automatically uploads your live stream to your channel as a video.
It might not be as simple as Instagram or Facebook, but live streaming on YouTube definitely has one definite advantage: people on this platform are there for one specific purpose: to watch videos.
Periscope Live Streaming
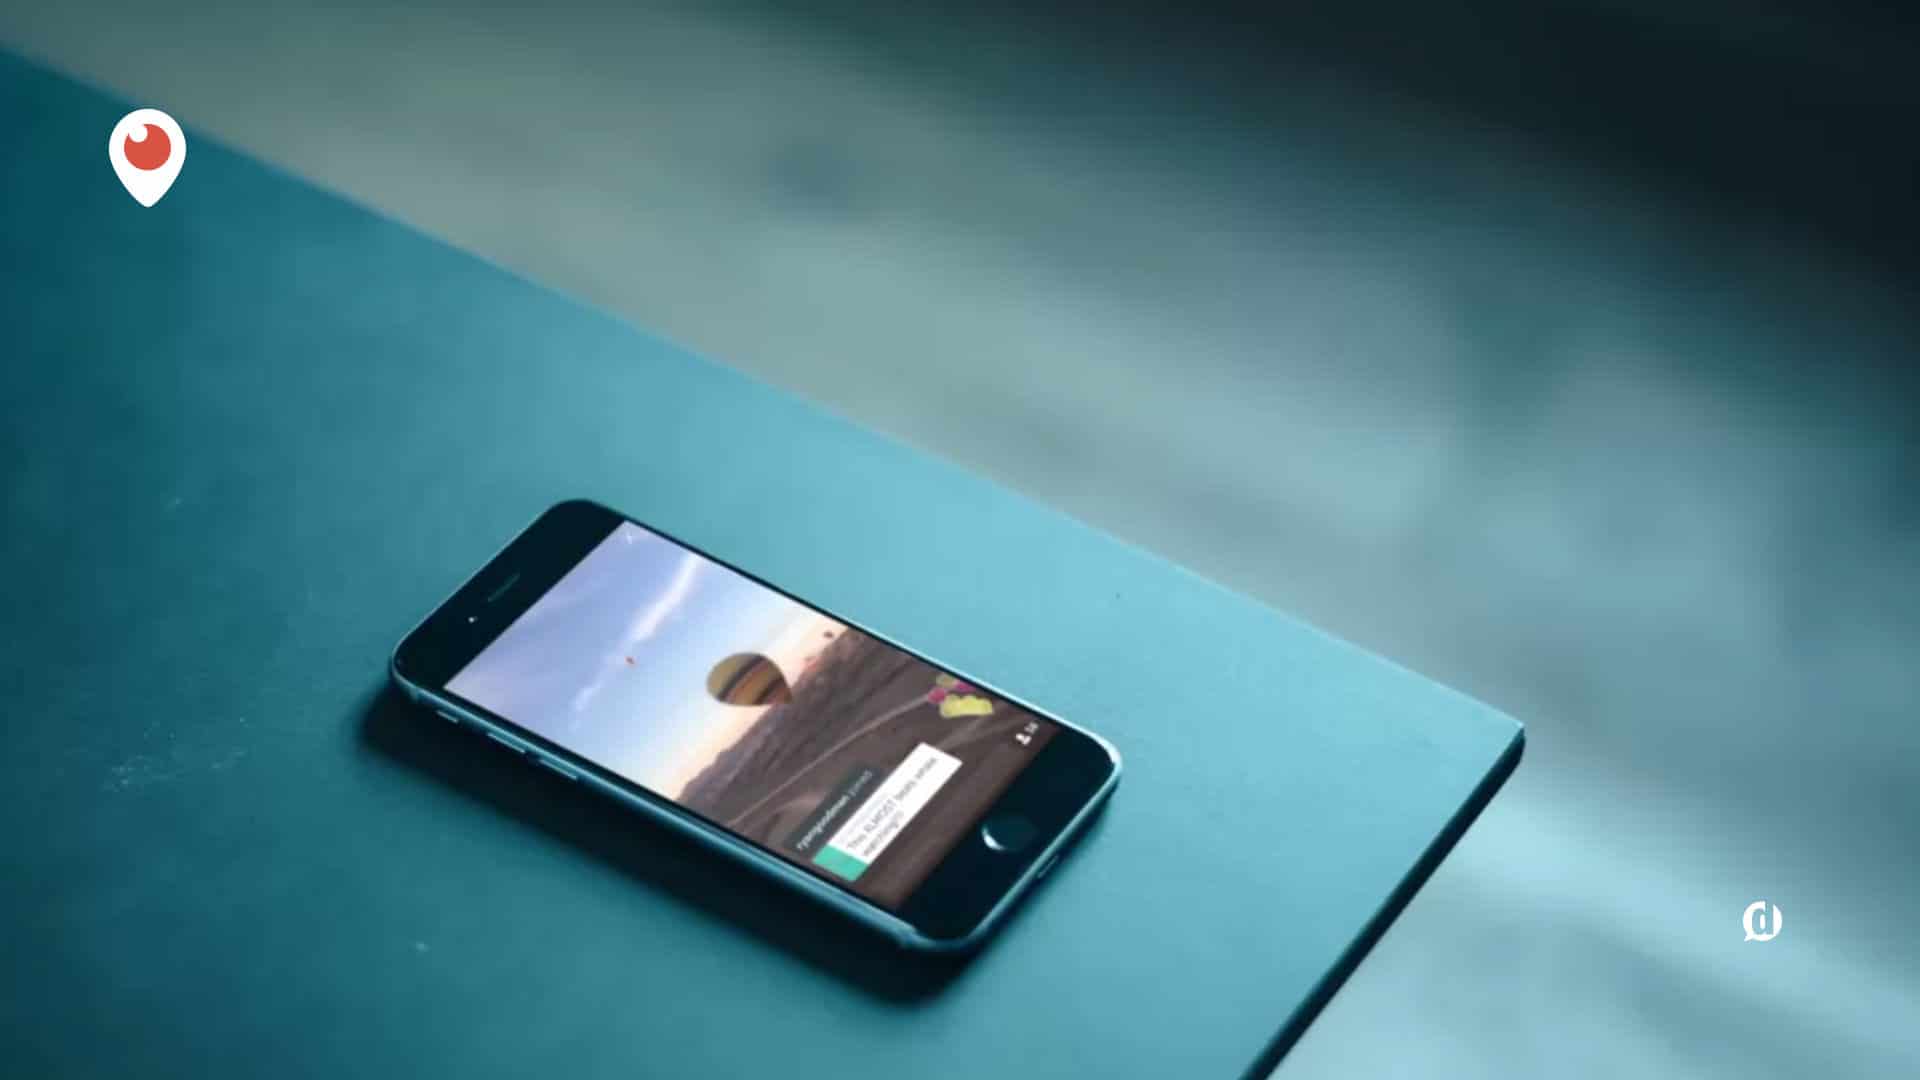
Periscope live streams are still very popular nowadays, especially in the news industry.
There are several ways to create an account on Periscope. Before, you initially needed to use Twitter to join, but now, you can use your Google account, Facebook account, or a Phone number to create an account or log in.
To broadcast on Periscope, just touch the Broadcast icon at the center of the bottom navigation bar in the mobile app.
Periscope broadcasts can either be private or public, depending on your preference. And, if your Twitter account is connected, you can have it automatically tweet out your broadcast as soon as you go live.
Public broadcasts are saved for only 24 hrs on the “Watch tub.” Your audience can view these broadcasts through the broadcast link by either using a browser or the Periscope app.
However, do note that only those using the periscope app can give “hearts” to your video and comment in the video stream.
For more information on how to use Periscope to its utmost potential, you can head over to my Periscope Pro Tips guide.
How to Use Live Streaming for Marketing
Ok Dustin, I chose my platform of choice. Now how can I further optimize my live streams?
To guarantee a successful marketing strategy, there are a few things you need to consider. These tips apply to all social media platforms that allow for live video streaming.
Interact with your audience
If you watch frequent streamers, they seem to talk with their streamers by acknowledging their presence and answering their comments.
This is a good way to bring up a healthy community that revolves around your brand.
Offer giveaways and run contests
People love freebies! Indulge them from time to time by giving away promo codes or other giveaways.
This can cause a huge spike in audience during your streams. Make sure your prizes involve something related to your brand or your products.
Report breaking news
Live streaming is the best way to get news across your target market in real time.
If you have news about the industry, then host a stream! If you are in a big event that your brand partakes in, then host another stream!
Show your audience that you are a thought leader by informing them of the latest news in your industry as soon as possible.
Make “Exclusive” types of content
People like to be “in the know.” They want the feeling of being a part of an exclusive thing. Why not host live streams for that specific purpose?
For example, if I were to shoot a video tutorial that will be hosted in the future, what I would want to do is hype up my audience and show live behind-the-scenes streams.
That’s a sure-fire way to increase interest and hype for your brand!
Get the right gear
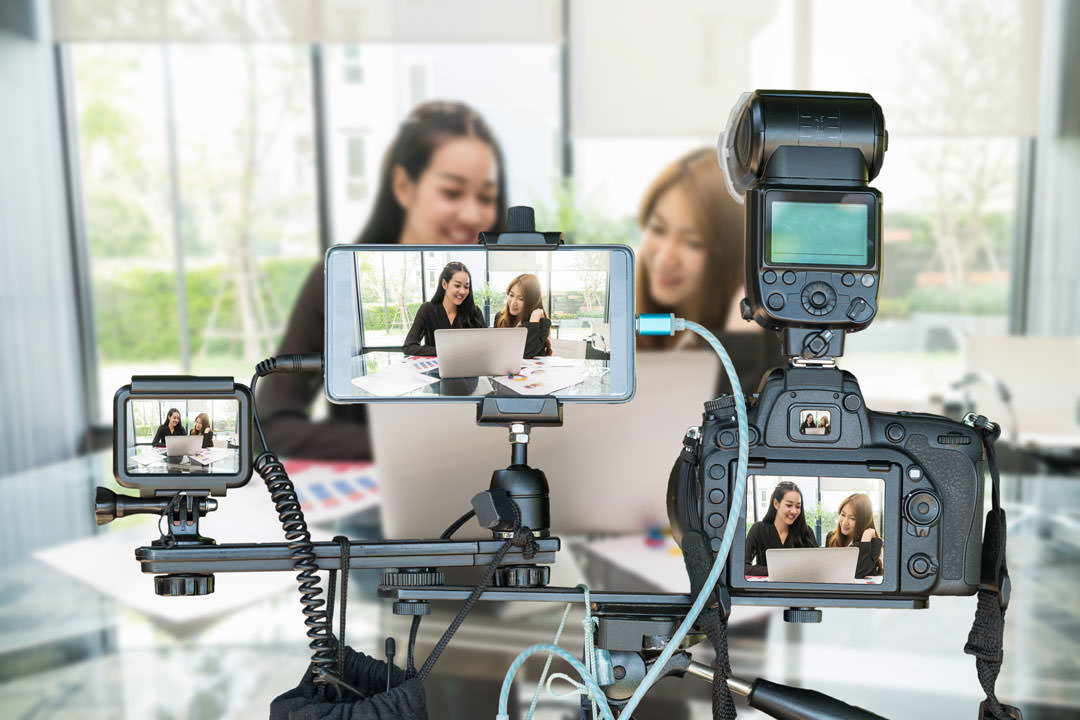
If you’re serious about making live streaming work for your business, you’re going to need a few essential pieces of gear.
My buddy Owen Video is one of the most knowledgeable people in the video marketing business and he has a Live Streaming Gear Guide you should definitely go grab.
Consider your brand
Although most of what I’m talking about here is general enough for most brands, some things will work better for one brand and not for others.
Consider what type of brand image you want to cultivate and who it is you’re trying to reach.
Understand the habits of your audience, and adjust your stream accordingly. You would not want to bore your audience with long streams unless they are the type that likes them.
Learn from top streamers
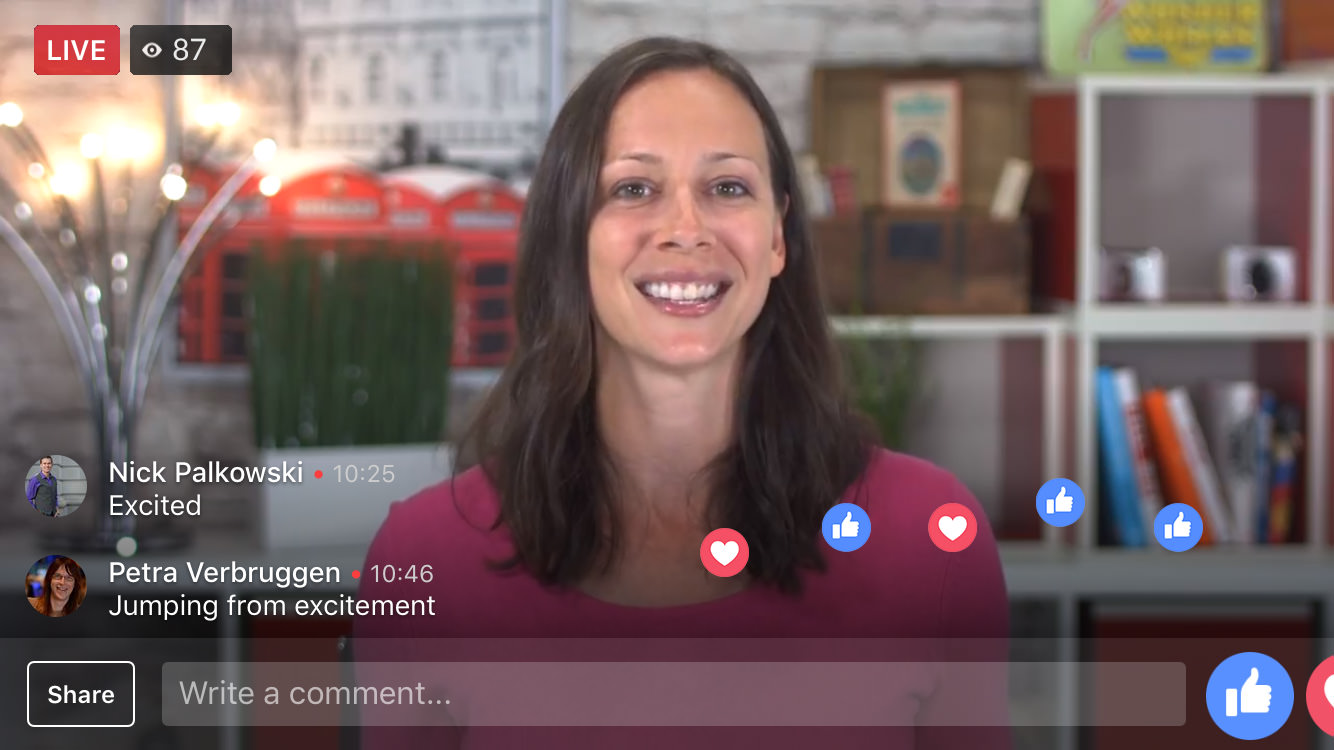
Due to the huge amounts of excitement around the world of live streaming, there are plenty of people out there doing it well. And there are plenty of training resources out there if you really want to take it to the next level.
I highly recommend taking a look at the free training my friends over at Live Streaming Pros have put together. They have materials, guides, and tips for people at all levels of experience.
Don’t Pass Up Live Streaming Social Media!
I have been using live streaming for my social media audience since 2011 when Google Hangouts On Air was a brand new thing (RIP). And it can be a lot of fun to interact with your audience on live video.
You may not get a huge amount of live viewers right away, but as long as you are consistent in doing streams, you will gain more traction.
Always be looking for ways to create interesting, informative, helpful, or entertaining content to live stream to keep your audience on their toes.
Remember, you have four platforms to choose from, each with their own strengths:
- Facebook Live – for brands that have an audience that is active on this platform, particularly in the 25-34 age range
- Instagram Live – perfect for those who have younger, on-the-go, audiences, and would prefer short streams
- YouTube Live – features highest quality streams for audiences who are keen to watch more polished videos
- Periscope – for those who are a bit more casual and would like to report on trends or “breaking” news
Each of these can work amazingly with your business. So go ahead and try them out! Let me know which is your favorite platform for live streaming social media by commenting below!
[Featured images courtesy of Yulia Grigoryeva, New Africa, and Freedomz via Shutterstock.]
Leave a Reply
You must be logged in to post a comment.